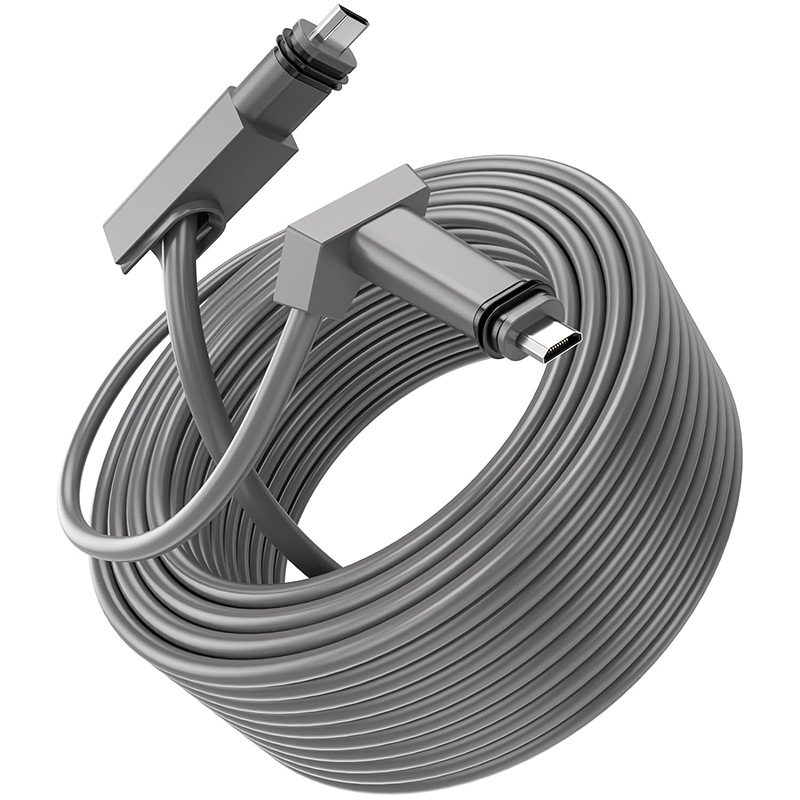
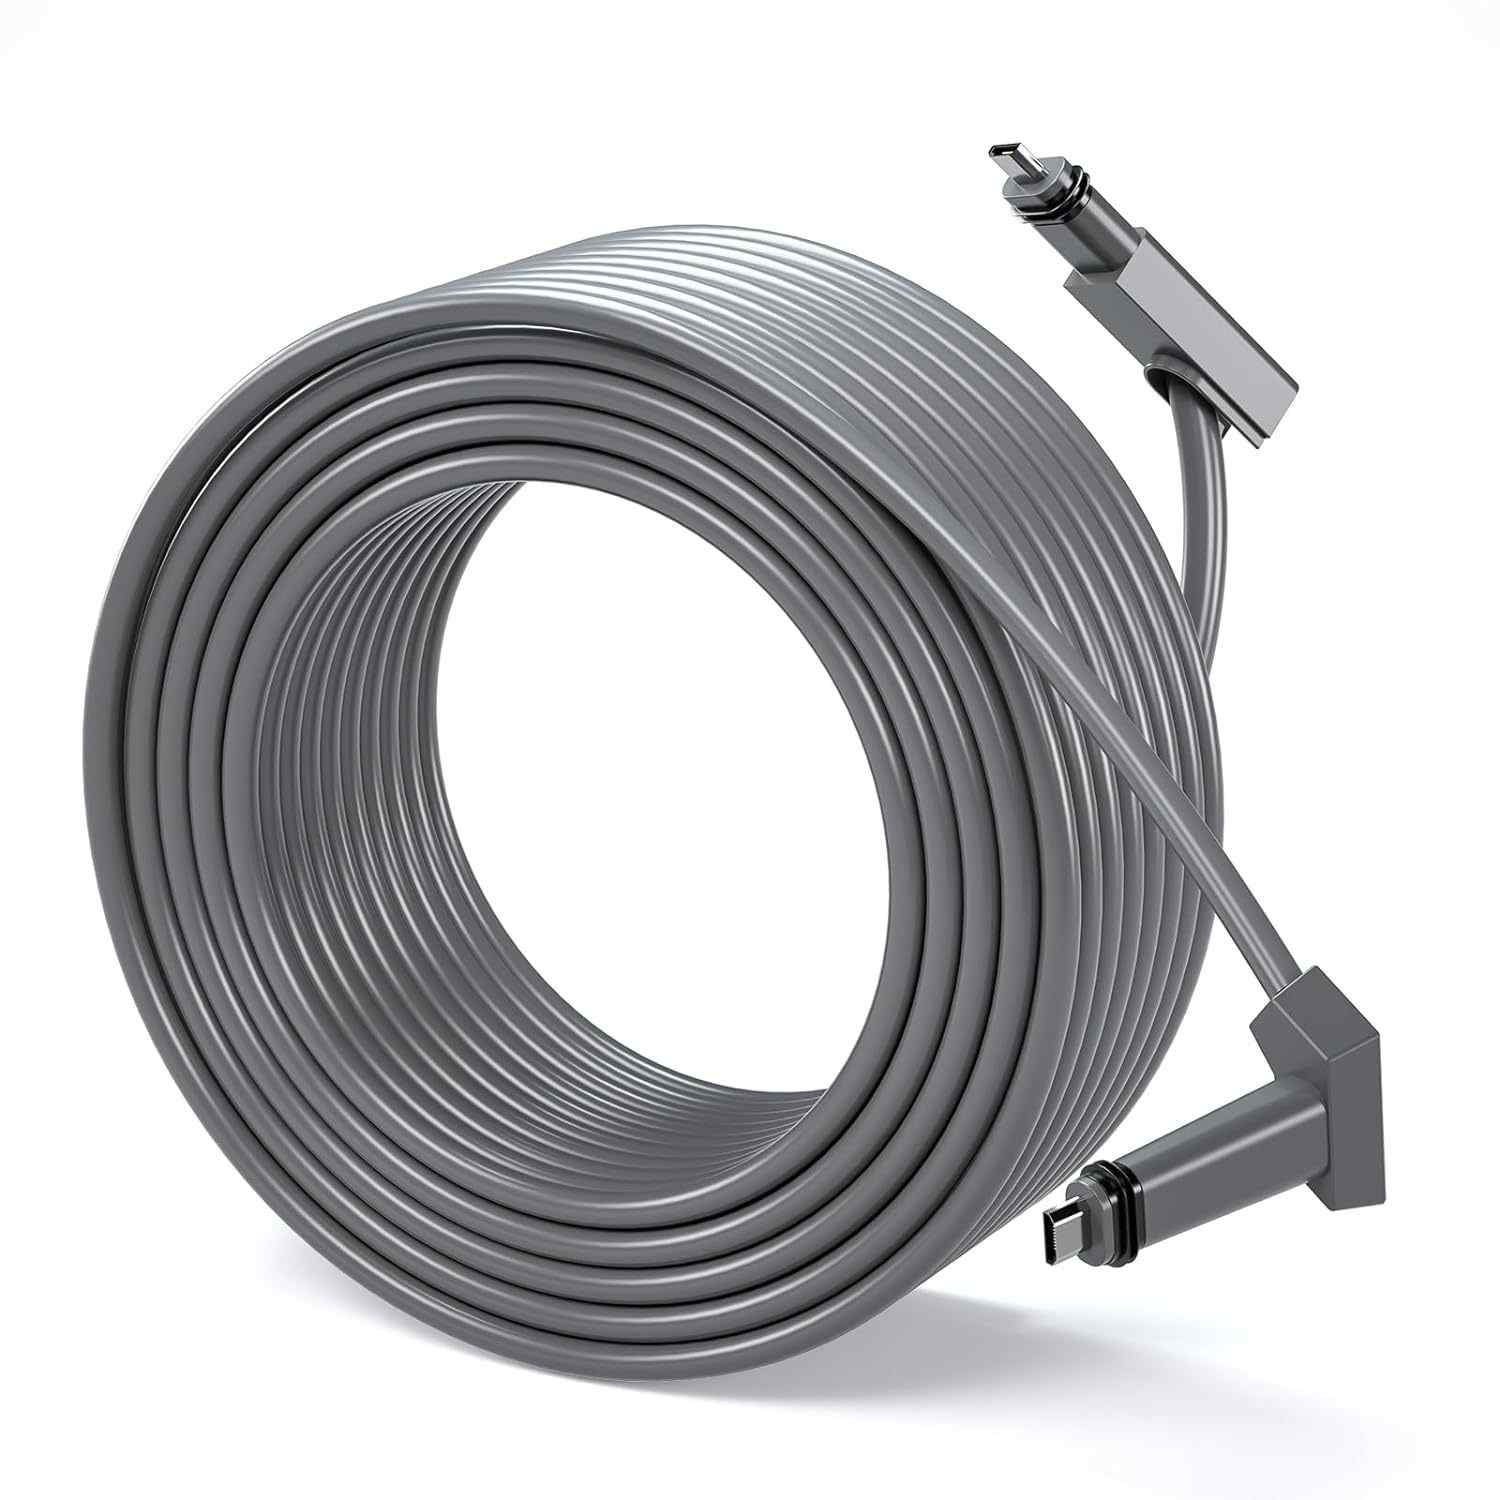
A Starlink cable running exposed across your roof or draped down your wall doesn't just look unprofessional — it collects water, degrades faster, and becomes an eyesore. In 2026, the best home Starlink installations hide the cable entirely: clipped under eaves, threaded through conduit, or routed behind trim.
We tested five common routing methods on residential installations. This guide covers the tools, materials, and step-by-step techniques that deliver a professional finish.
Why Cable Routing Matters
Properly routed cable: clipped neatly to the roofline, sealed at entry point, invisible from street view.
Three reasons to route cables cleanly:
- Aesthetics. Exposed cables reduce curb appeal and signal poor installation to potential buyers or renters. Clean routing is a hallmark of professional integrator work.
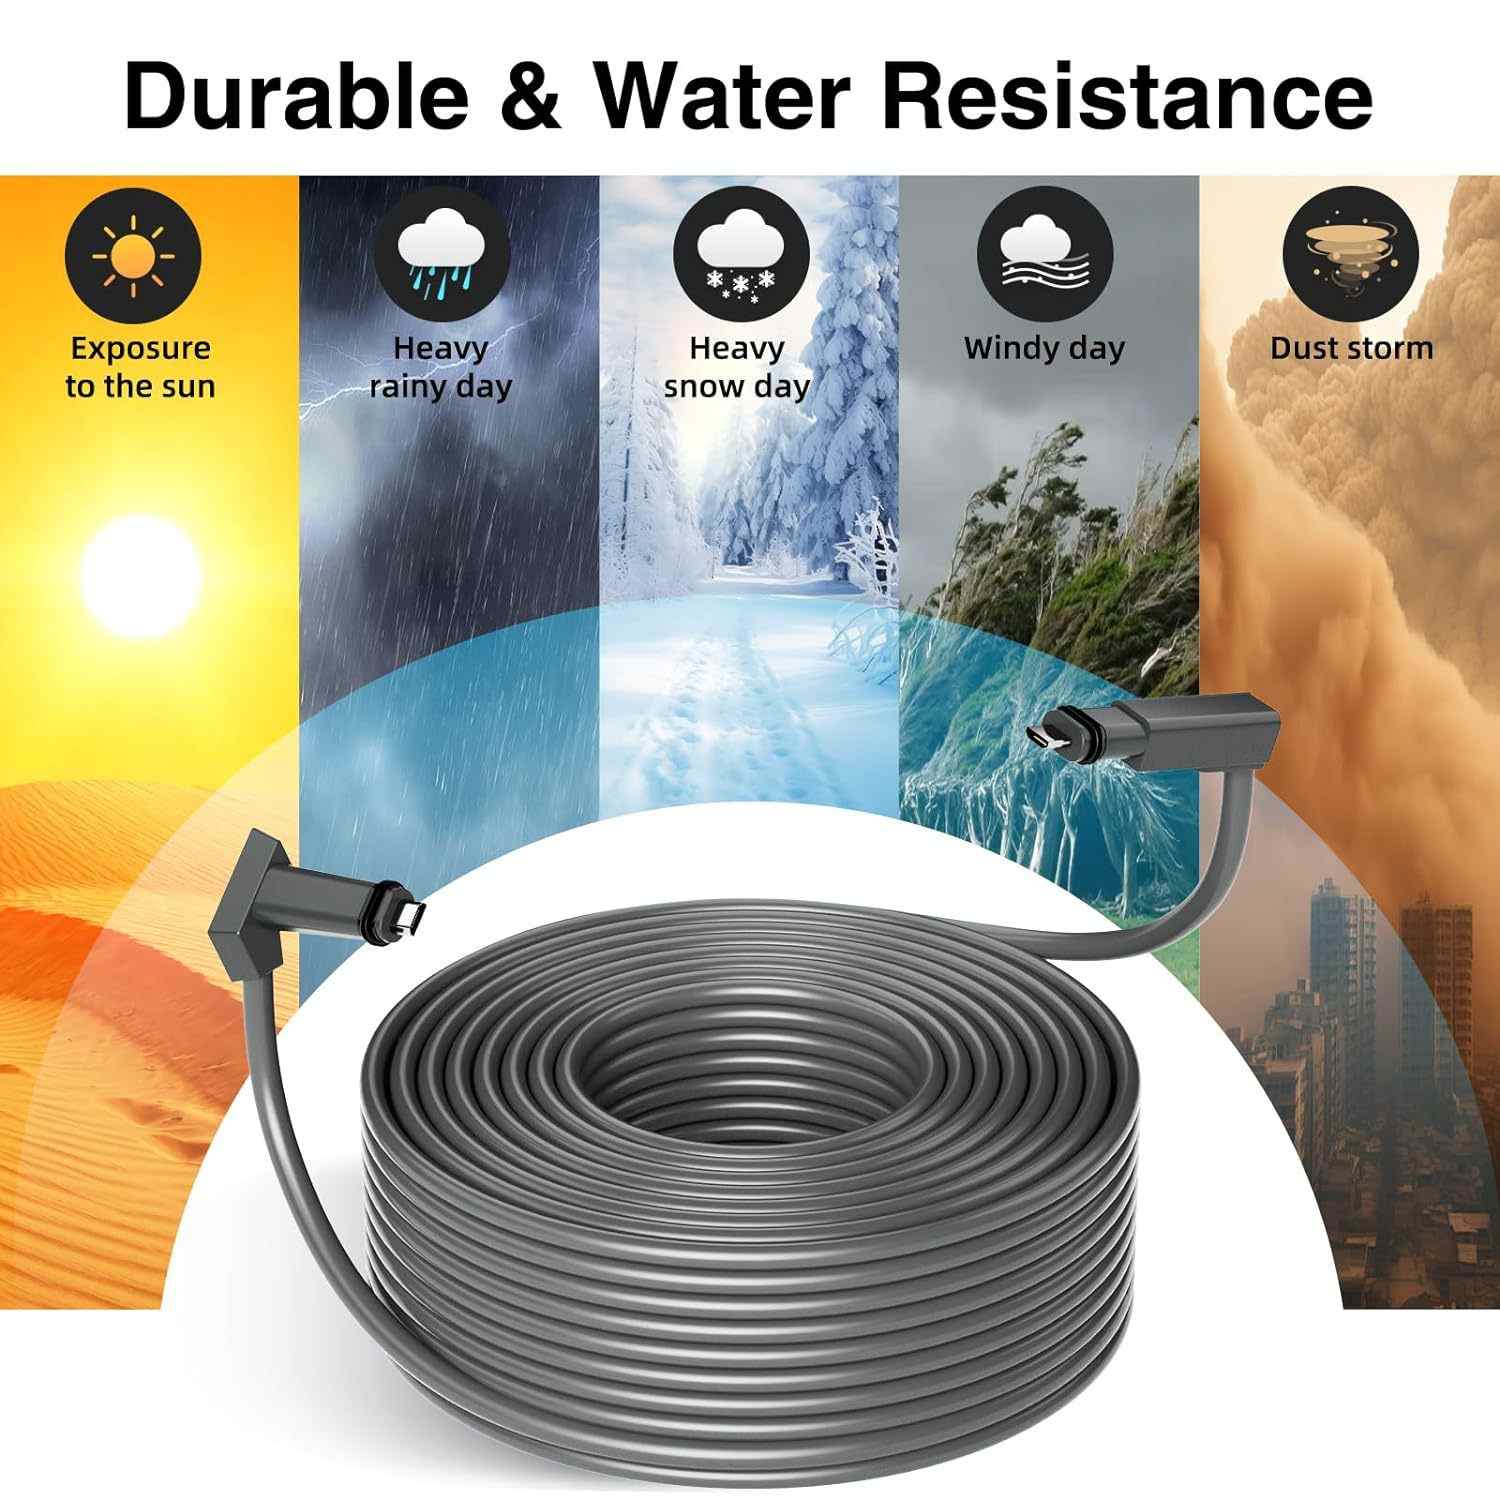
- Weatherproofing. Cables left exposed absorb standing water, creating entry points for corrosion and signal degradation. Routed cables shed water and last 3–5 years longer.
- Cable protection. Clipped or conduit-routed cables are protected from UV damage, pest damage (rodent chewing), and accidental snagging or stepping on them during roof maintenance.
Left: UV-resistant cable clips hold the cable 5–7 mm from the surface. Right: cable entry gland with compression seal prevents water ingress.
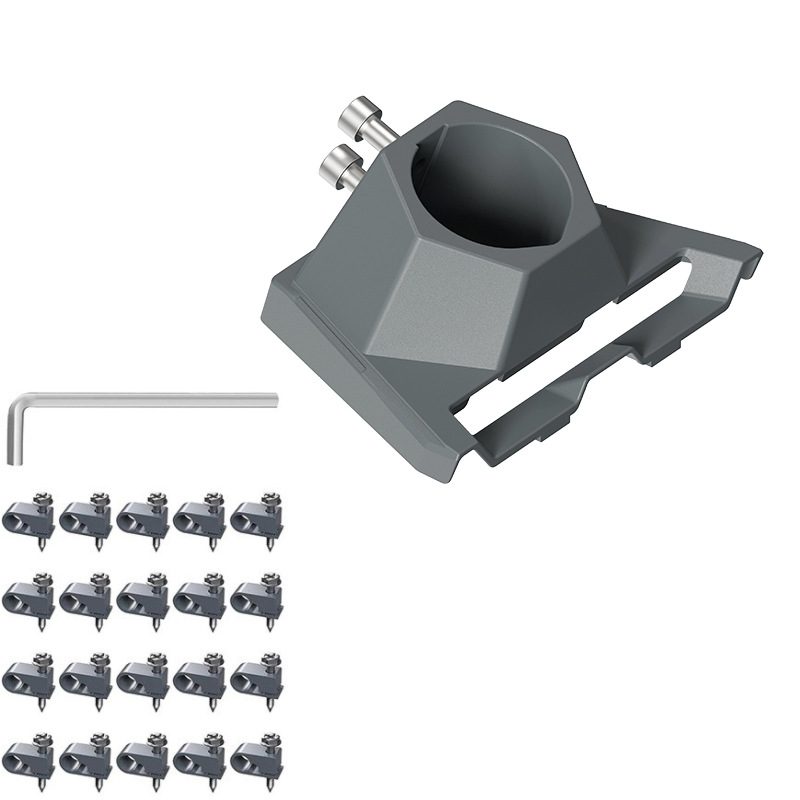
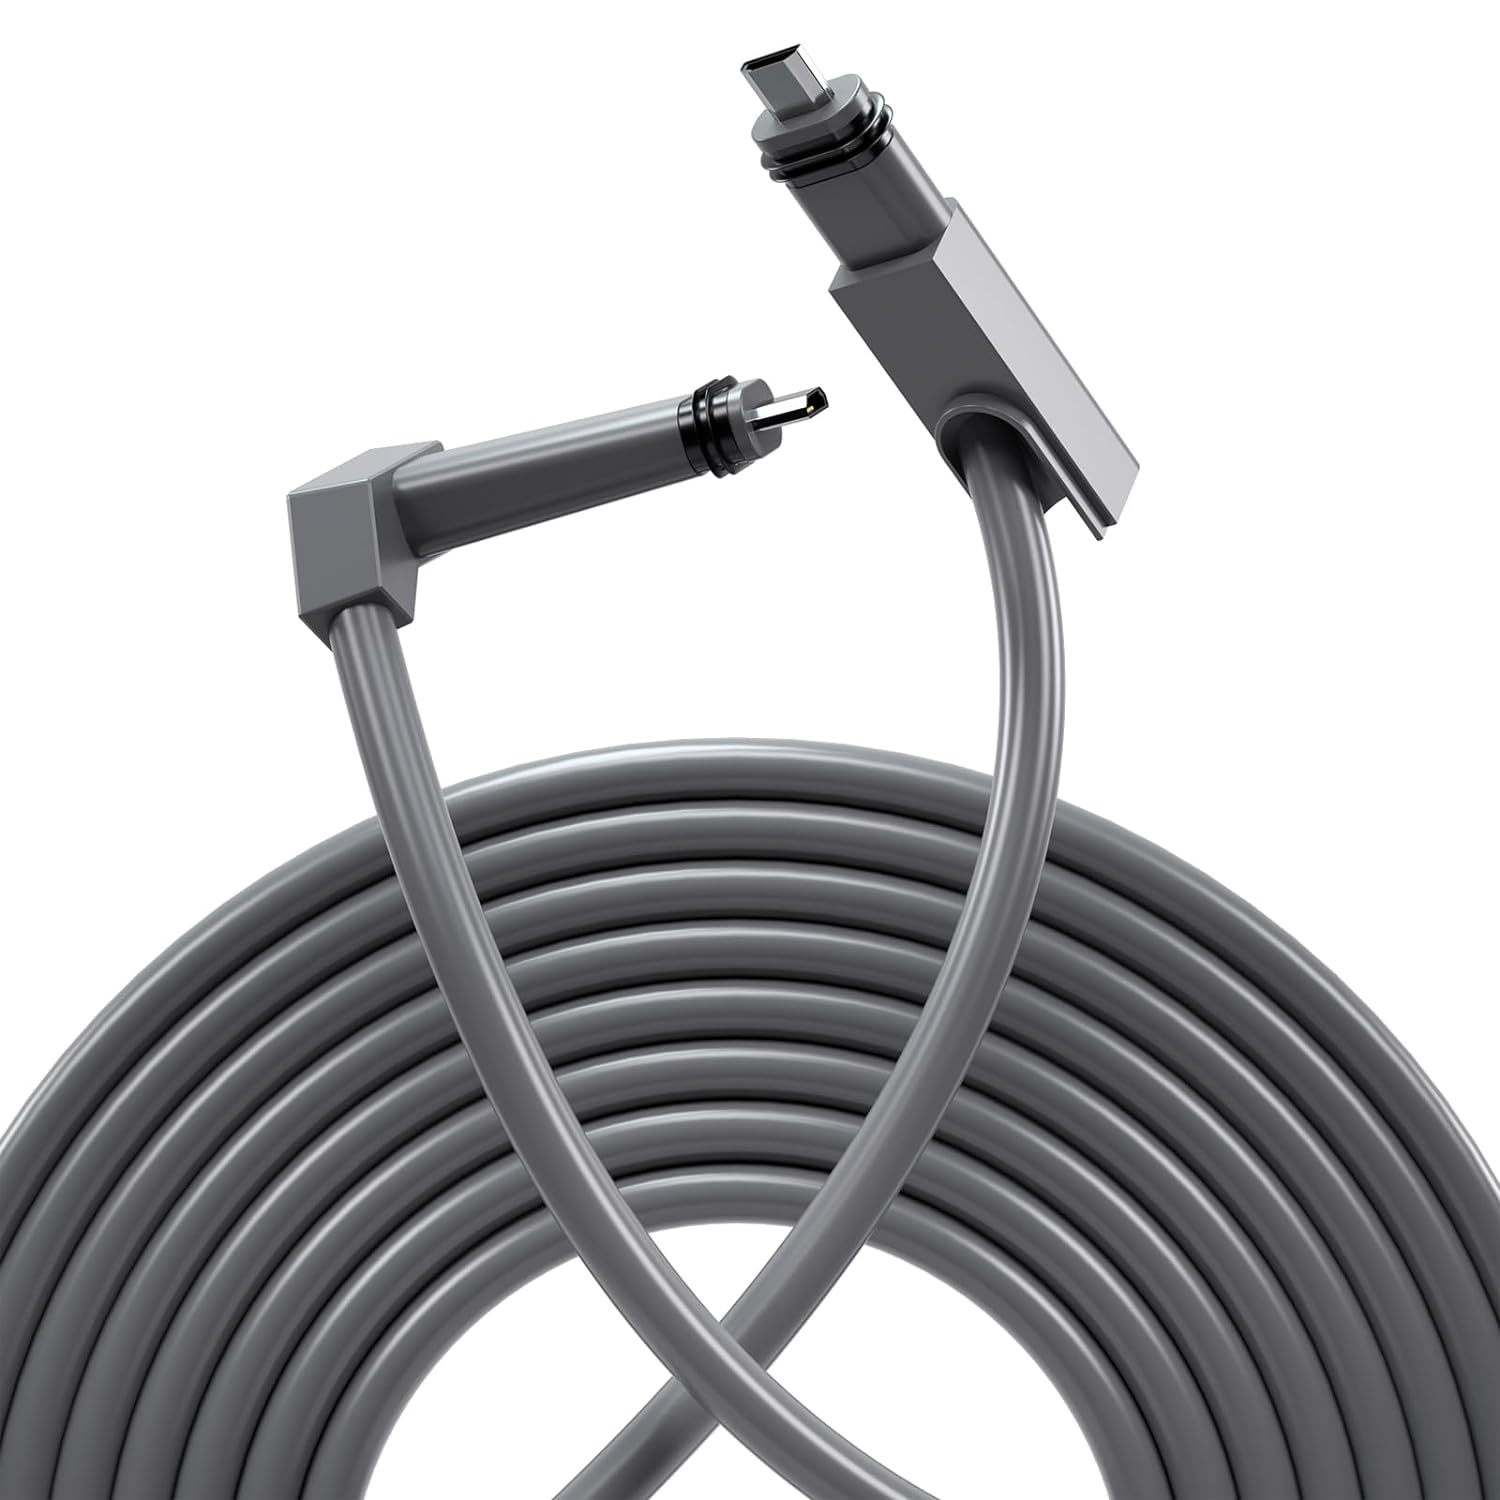
The OrbitGrip Cable Routing Kit — What's Included
The CableKit Pro bundles everything needed for a complete home installation — from the roof to the modem inside.
Cable Clips (50× UV-Resistant)
Starlink cable is 13 mm in diameter — standard 8 mm clips won't work. The CableKit includes 50 clips specifically sized to grip the cable without crushing the jacket. Made from UV-stabilised nylon with stainless steel screws rated for 20+ years in direct sunlight. Space them 30–40 cm apart along rooflines and walls.
Cable Entry Glands (2×)
Compression-fit glands with rubber seals seal the hole where cable enters the house. Tighten the nut until snug (hand-tight plus 1/4 turn). The seal prevents water and insects from entering the cable jacket.
Waterproof Sealant Tube
Polyurethane-based sealant rated for roof use. Apply around the gland threads on the outside to prevent wind-driven rain from finding a path along the cable. Works on wood, vinyl, and metal fascias.
Stainless Steel Fasteners
100 stainless M4 screws and anchors for wall and eave mounting. Stainless prevents rust bloom and thread seizing in damp climates. Sized for standard 5 mm pilot holes.
CableKit Pro — Starlink Cable Routing Kit
50× UV-resistant clips · 2× cable entry glands · Waterproof sealant · Stainless screws included
View Product →Step-by-Step: Routing Along a Roofline
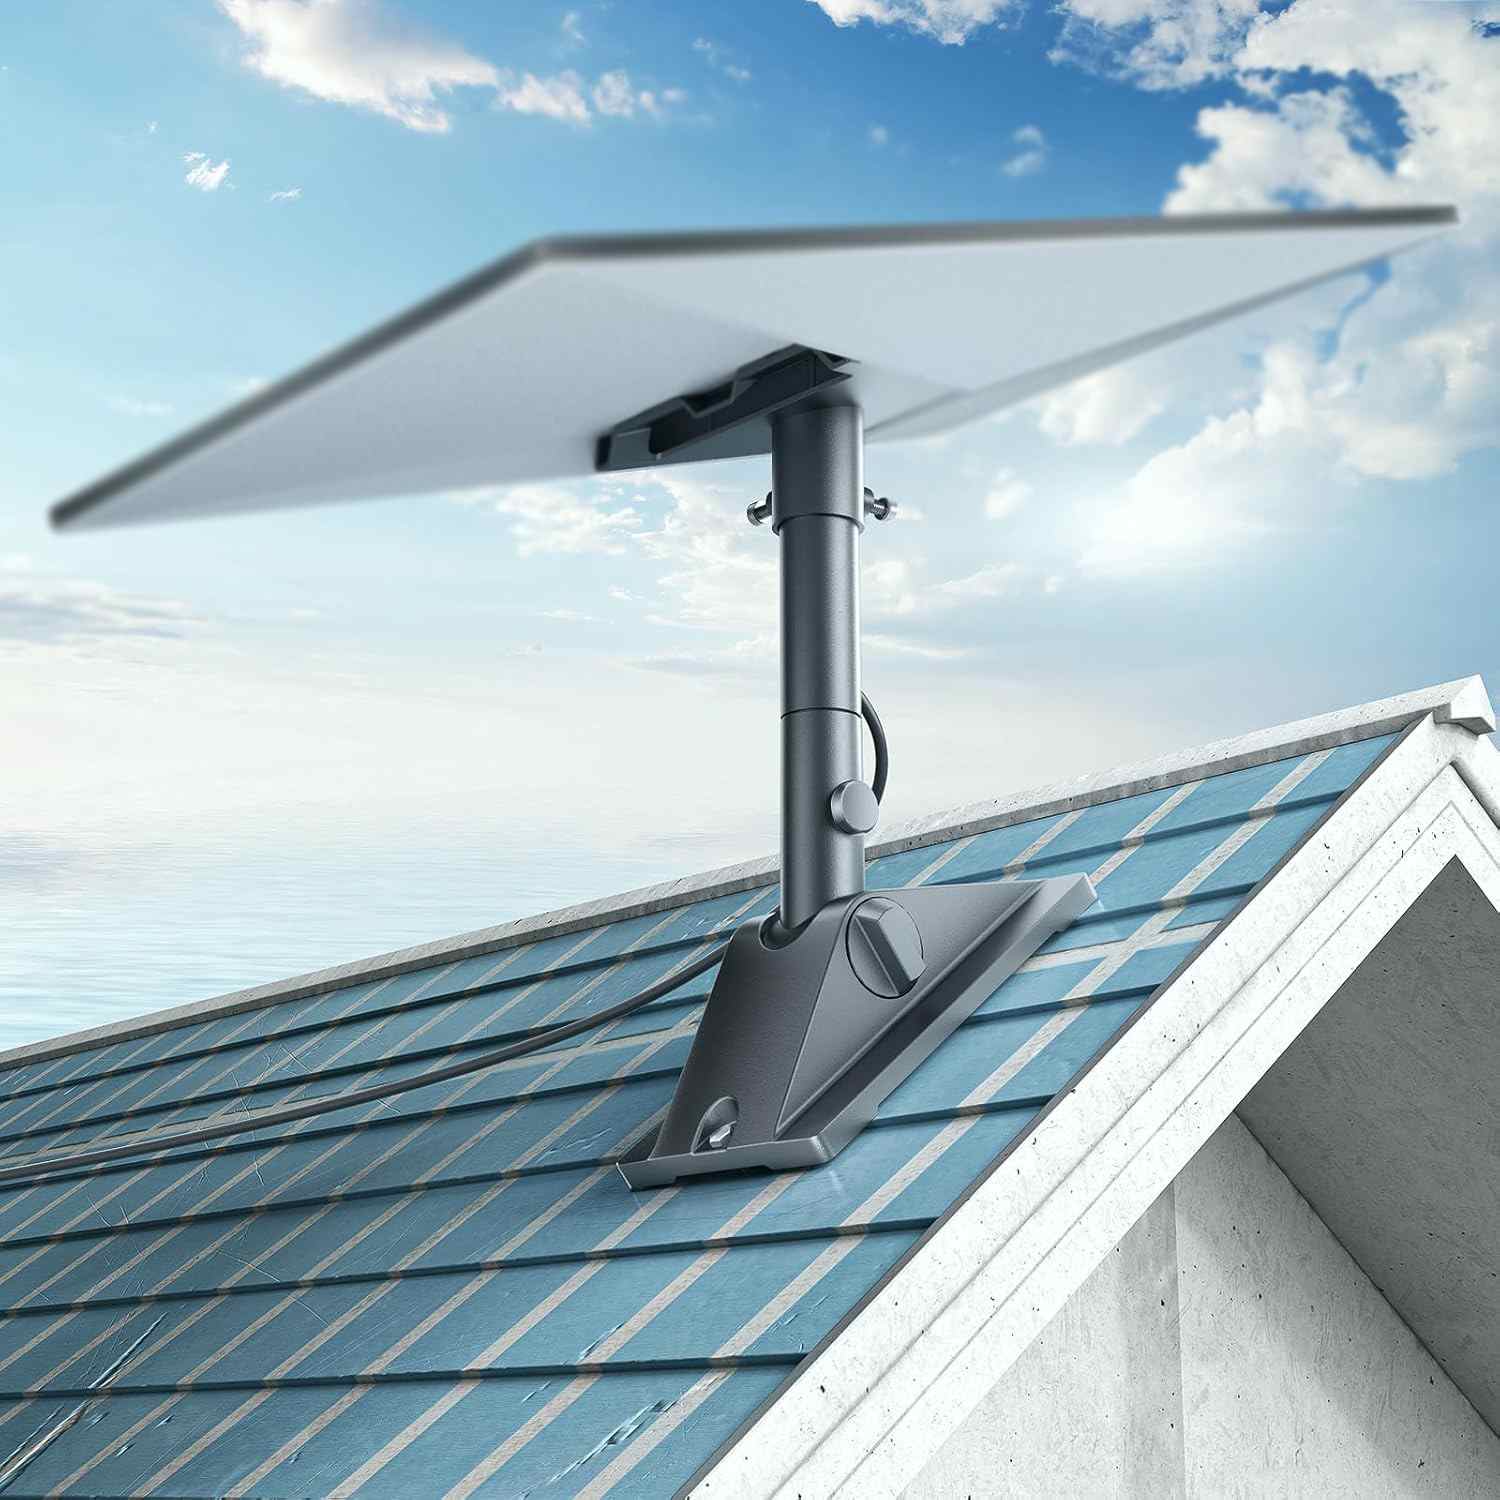
This method works for homes with clear roof edges or fascia boards. The cable stays visible from above the roof but is invisible from the ground.
Left to right: run cable from dish along roof edge, clip every 30–40 cm, drop down to entry gland on wall or soffit.
- Plan the route — Measure from the dish mount to the nearest wall entry point. Identify the eave, fascia, or gutter line as the cable path. Avoid areas with heavy foot traffic or roof maintenance access.
- Pre-drill and install clips — Using a 5 mm drill bit, make pilot holes every 30–40 cm along the planned route. Screw in cable clips hand-tight first, then give them 1/4 turn. Do not over-tighten on metal or you'll strip threads.
- Route the cable — Starting from the dish, lay the cable into the first clip. Press gently into each clip as you walk the cable along the roofline. Avoid kinks or sharp bends (minimum 7.5 cm radius).
- Drop cable to entry gland — At the point where cable exits to the wall, route it down using additional clips spaced 20 cm apart on vertical runs. This prevents water pooling at the entry gland.
- Install the gland and seal — Thread cable through the gland nut, hand-tighten until snug (you should feel resistance), then add 1/4 turn. Apply waterproof sealant around the gland threads on the outside. Wipe clean after 5 minutes.
Tips for Running Cable Through Walls
Running cable inside walls or through conduit hides it completely. This method requires a bit more planning but delivers the cleanest final result.
Using Electrical Conduit
PVC conduit (25 mm diameter) allows you to run cable along the outside of the house or through a wall cavity without direct contact with building materials. Run conduit from the roof entry gland to the modem location. Use conduit clamps every 40 cm. Seal the conduit entrance with a grommet or foam insert to prevent moisture and pests. Pull cable through gently using the included fish tape or a smooth wooden rod — do not kink the cable.
Wall Entry Sealing
Where cable passes through the outer wall, use a rubber grommet in a pre-drilled 15 mm hole. Once cable is threaded, pack the remaining gap with polyurethane foam sealant. Trim excess foam and paint to match. This method is nearly invisible from the street and blocks wind-driven rain completely.
Interior Routing
Once inside the house, route cable along the baseboards using smaller plastic clips (25 mm spacing). Where cable must cross a hallway or doorway, run it through paintable cable trunking (mini conduit) mounted to walls. This looks cleaner than loose cable and is protected from foot traffic.
Left: exterior conduit run with conduit clamps. Right: interior baseboard routing using cable trunking.