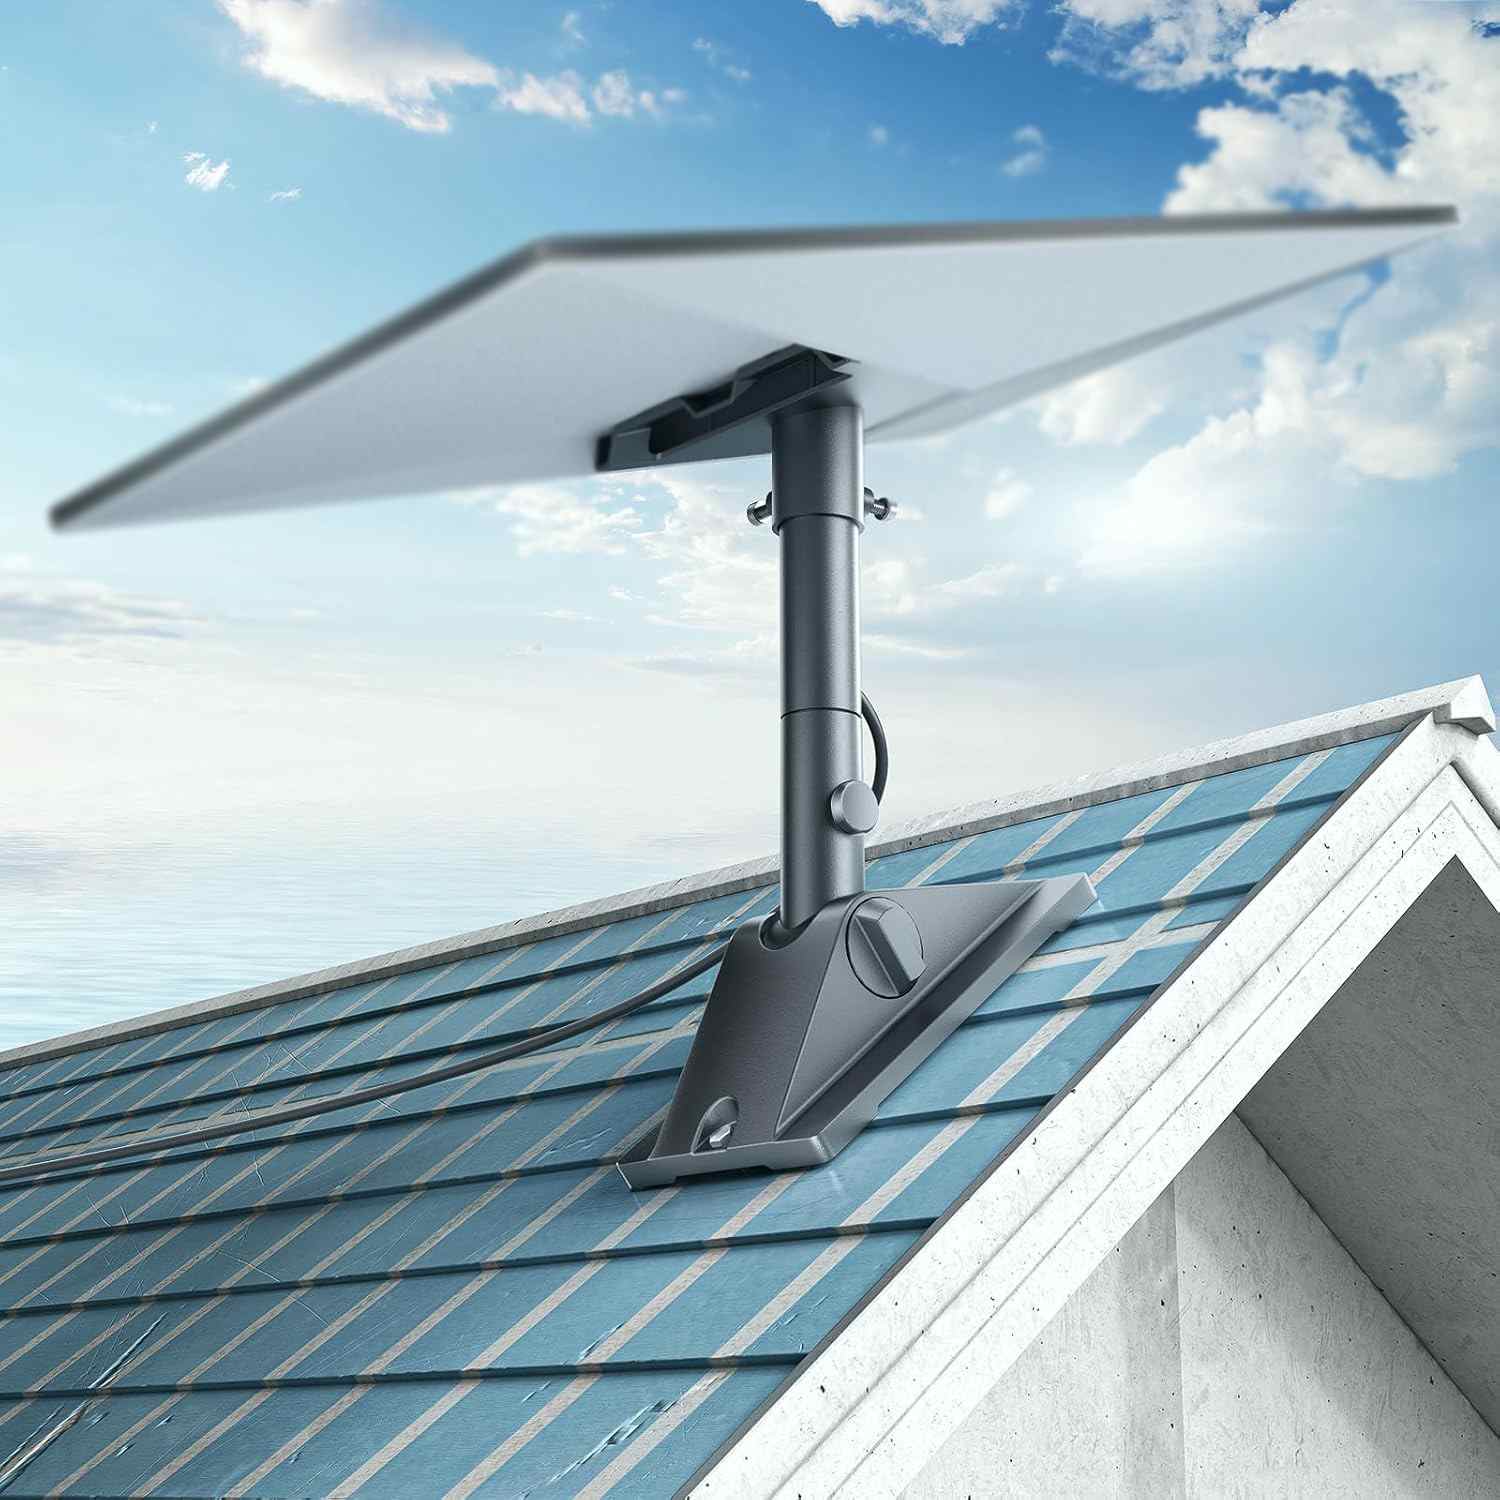
The pipe adapter is the most flexible outdoor mount for Starlink Gen 3 — attach the dish to any existing pole, fence post, chimney bracket, shed wall bracket, or new ground-push pole. No roof drilling, no concrete pads, completely adjustable tilt from 0–45°.
In this guide, we cover pipe size compatibility, load ratings, and step-by-step installation for both existing structures and new ground-push pole setups. Whether you're in a caravan field, a cottage garden, or a remote farm, the pipe adapter delivers reliable signal.
When to Use a Pipe Adapter (vs Roof Mount, Wall Mount)
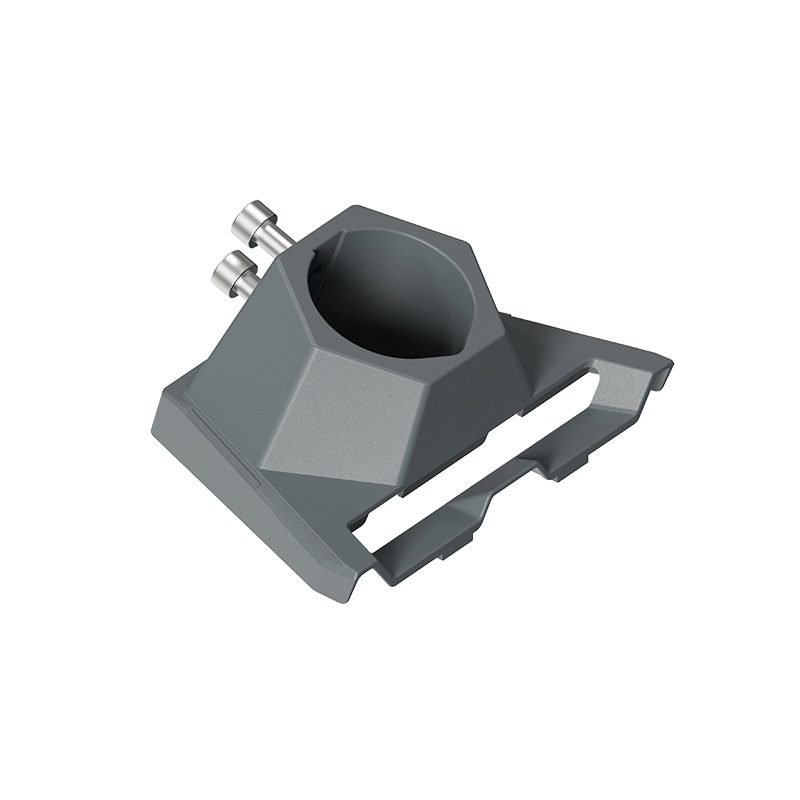
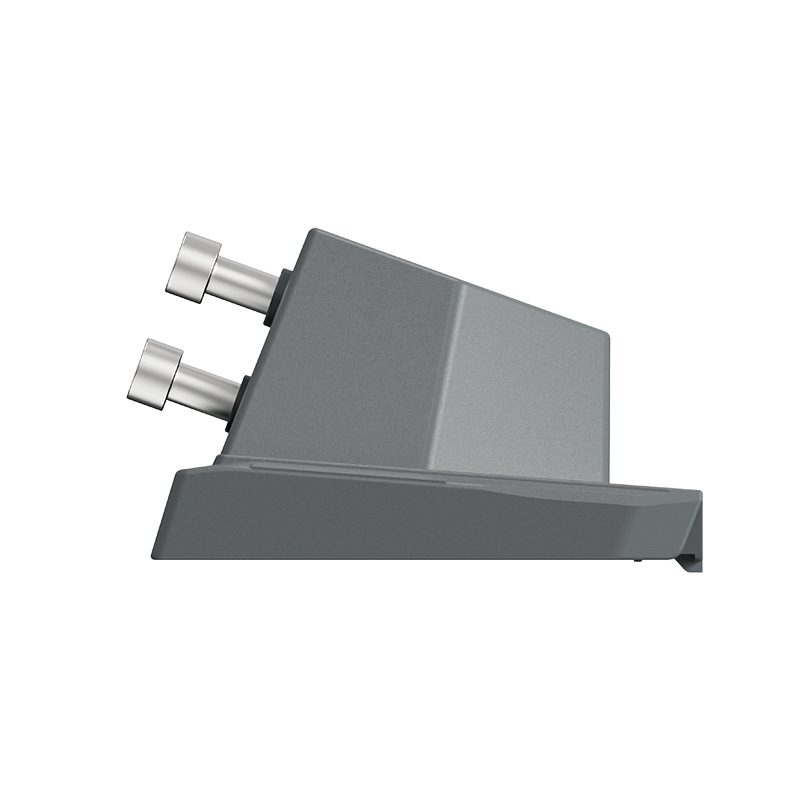
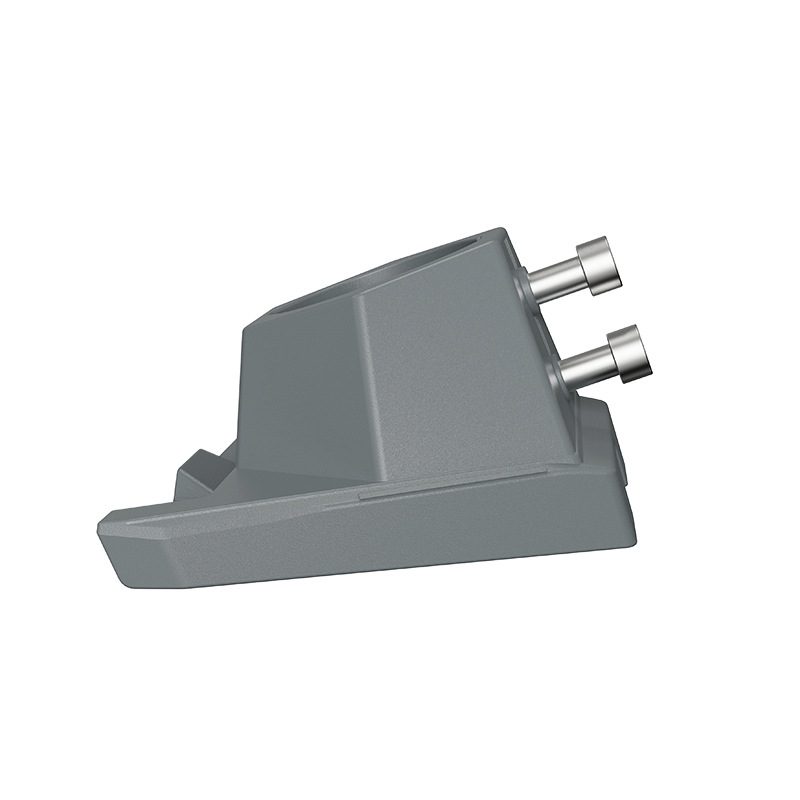
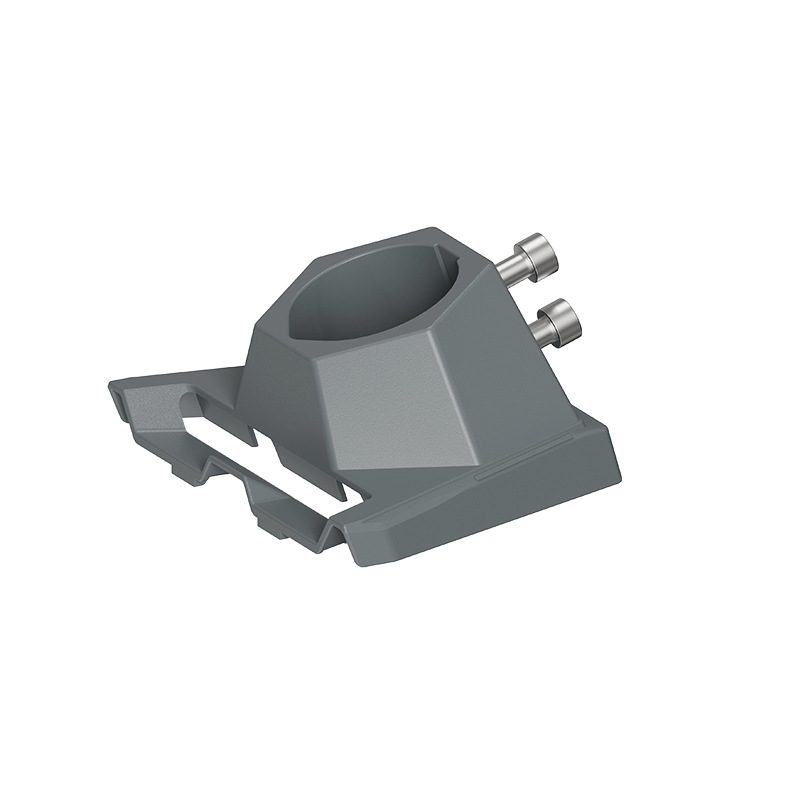
PipeRider adapter: 360° rotation, 0–45° tilt, fits standard poles. Ideal for ground-push or fence-post installs.
Use a pipe adapter when:
- Flexibility is key — You can mount on existing structures or plant a new pole without concrete or permanent installation.
- Open sky required — Ground-push poles let you place the dish in the best sky view, away from trees or buildings that block satellites.
- Temporary or mobile installs — Caravans, glamping sites, event venues, and farms benefit from a pole mount that can be repositioned or removed.
- Rental properties — No permanent modifications to the building. Pipe mounts suit landlords who want to offer Starlink without altering the structure.
| Mount Type | Drilling Needed | Relocatable | Max Height | Best Use |
|---|---|---|---|---|
| Pipe adapter | No | Yes | 3+ m | Open fields, temporary sites |
| Roof mount | Sometimes | Limited | 2.5 m | Permanent home install |
| Wall bracket | Yes | Limited | 2 m | Narrow yards, tight spaces |
What Pipe Sizes Work
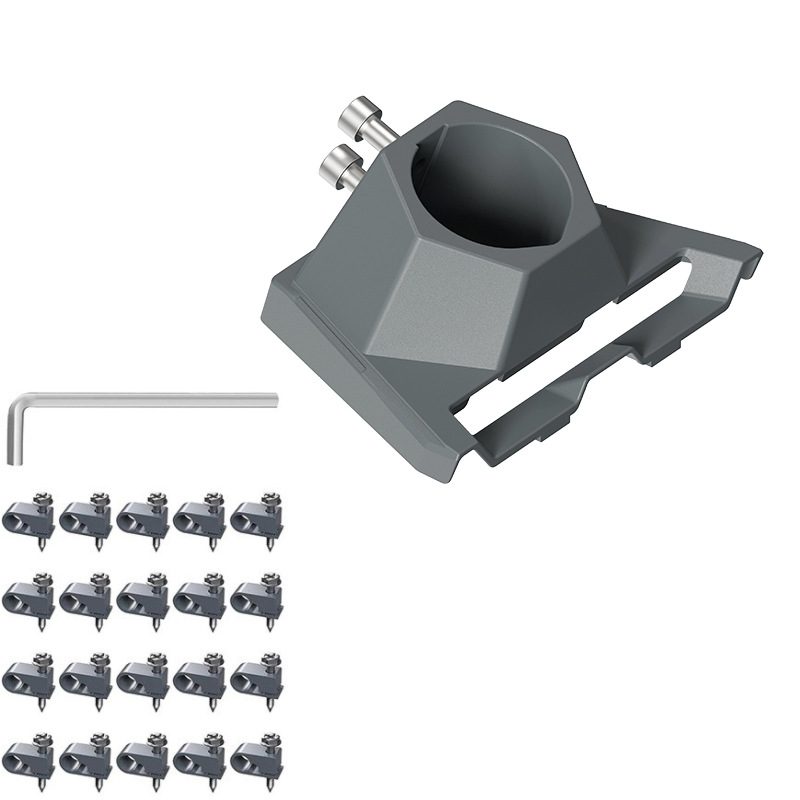
Starlink Gen 3 and Mini both use standard 1.5–2 inch (38–50 mm) pipe diameter mounts. The PipeRider adapter accommodates the full range with built-in shims.
Standard Pipe Sizes
1.5 inch (38 mm) — Common utility poles, some fence posts, lightweight applications. 2 inch (50 mm) — Full-load capacity, common on commercial masts and ChimneySafe brackets. The PipeRider includes shims for 1.5-inch pipes to maintain full 160 km/h wind rating.
Load Ratings & Wind Speed
Starlink Gen 3 weighs 2.2 kg and generates wind load equivalent to 3–4 kg at 160 km/h. Standard 1.5-inch pipes and posts rated for 6+ years outdoor use easily support this. Always verify the pipe or post is structurally sound — no rot, bending, or rust. Wooden posts should be treated softwood or hardwood rated for exterior use. Test by hand: a healthy post should flex less than 25 mm under side pressure at the top.
Left: PipeRider adapter fitted to a 1.5-inch pole with shim. Right: side-by-side pipe sizes — both supported.
PipeRider Adapter — Universal Starlink Pipe Mount
Fits 38–50mm pipes · Aluminium alloy · 360° rotation · 0–45° tilt · Gen 3 & Mini compatible
View Product →Step-by-Step: Attaching to an Existing Pole
This method works for fence posts, chimney brackets, shed wall brackets, or any existing vertical pipe between 1.5–2 inches. Total installation time: 15–20 minutes.
Left to right: verify pipe condition, slide adapter up pipe and tighten band clamp, mount dish and set tilt angle for your latitude.
- Inspect the pole — Check for rot, rust, or structural damage. Wooden posts should be sound throughout. Metal poles should be free of rust that reduces diameter. If uncertain, add a secondary guy-wire or brace for extra safety.
- Measure the mounting height — Aim for 1.5–3 meters above ground or surrounding obstacles. Use the Starlink app's obstruction checker from the planned height to confirm clear sky view.
- Slide the adapter onto the pole — Position it at your target height. If the pipe is 1.5 inches, insert the included shim into the adapter clamp first. Loosen the band clamp bolt and slide the adapter up to height.
- Tighten the clamp — Tighten the band clamp bolt with an M8 wrench or 13 mm socket. Snug firmly (you should feel solid resistance) but do not over-tighten on thin pipes — this can flatten them. Two half-turns past hand-tight is sufficient.
- Attach the dish arm and set tilt — Slide the dish arm into the adapter's ball joint. Rotate to your cardinal direction (typically facing south in northern hemisphere) and set tilt angle: latitude + 20° is a rule of thumb. Use the Starlink app to fine-tune once powered up.
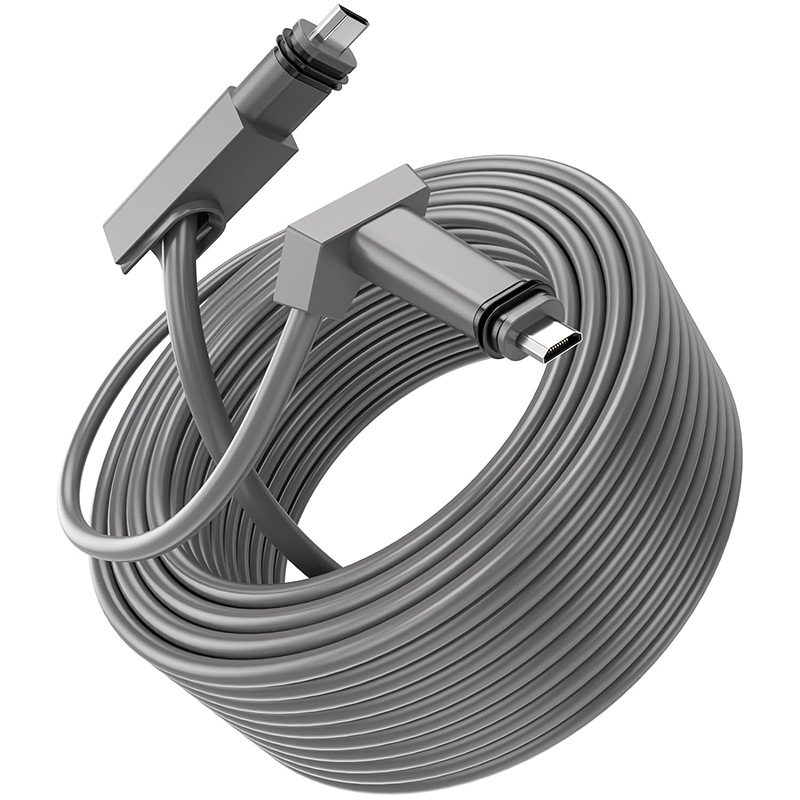
- Route the cable down — Use cable clips to secure the Starlink cable to the pole every 50 cm. Route to your house entry gland or weatherproof enclosure. Avoid sharp kinks (minimum 7.5 cm radius).
Step-by-Step: Installing a Ground-Push Pole
For open fields or locations with no nearby poles, a ground-push pole (also called push-up or fence post) offers the best sky view. Installation takes 30–45 minutes with two people.
Site Selection & Preparation
Choose a location with clear southern exposure (northern hemisphere). Avoid under tree canopies or near large buildings. Mark the spot, dig a 30–40 cm hole, and compact the base with gravel or sand. The hole must be deep enough to securely anchor the pole base — typically 40–60 cm depending on soil type and pole height. Use a level to ensure the pole is vertical.
Installing the Pole & Adapter
Set the pole in the hole and use a post level to confirm vertical alignment. Fill the hole halfway with soil, tamp firmly, add gravel, and fill to ground level. Tamp the top layer and let settle for 24 hours before mounting the dish. Slide the PipeRider adapter onto the pole at 2.5–3 meters height (or the height determined by your sky view survey) and tighten the band clamp as described above. Double-check that the adapter is horizontal before mounting the dish.
Cable Run & Weatherproofing
Run cable down the pole using clips every 50 cm. At the base, route it through a weatherproof junction box or cable entry gland (filled with foam to seal against water). Run the cable through PVC conduit underground (trenched 30 cm deep) if your house is more than 20 meters away, or along a fence line if available. Seal all conduit ends with foam plugs. Inside your home, use cable trunking or clips along baseboards to the router location.
Left: pole set in ground with adapter clamped at 2.5 m height. Right: cable secured to pole, routed into underground conduit.