The single biggest surprise for new Starlink Mini owners: you can't just plug it into your car's 12V socket. The Mini requires 25–30V DC — more than double your vehicle's supply. Get the voltage wrong and the dish simply won't turn on.
The good news: a compact boost adapter solves this completely. Here's what you need to know before buying.
Why Starlink Mini Needs 30V — Not 12V
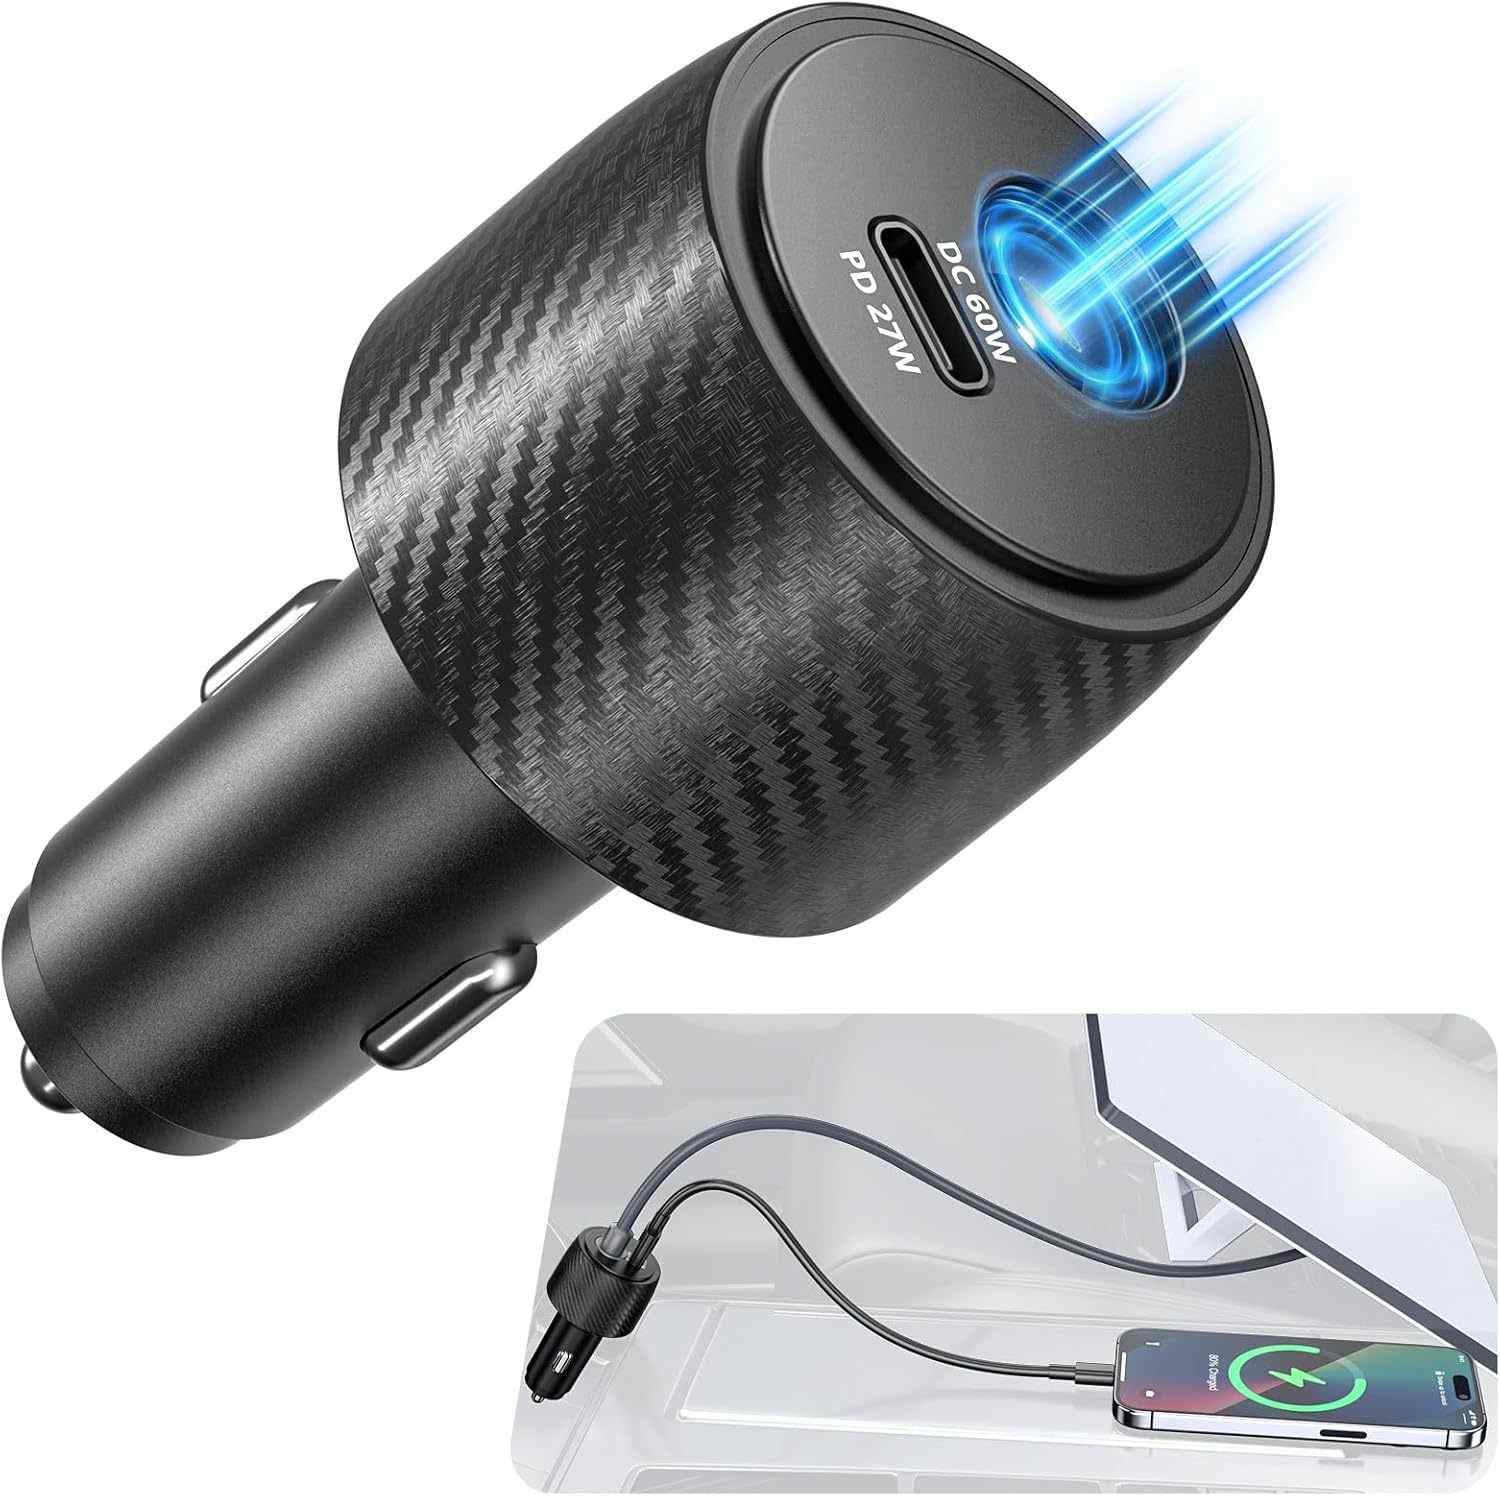
The PowerRover's digital display confirms 30V output and current draw in real time.
Starlink Mini uses an internal power supply that steps up from its DC input voltage to run the phased-array antenna and processing board. SpaceX chose 30V DC as the input to balance efficiency and cable thickness — a lower voltage would require thicker, heavier cables over the dish's 10m run.
The key specs you need to match:
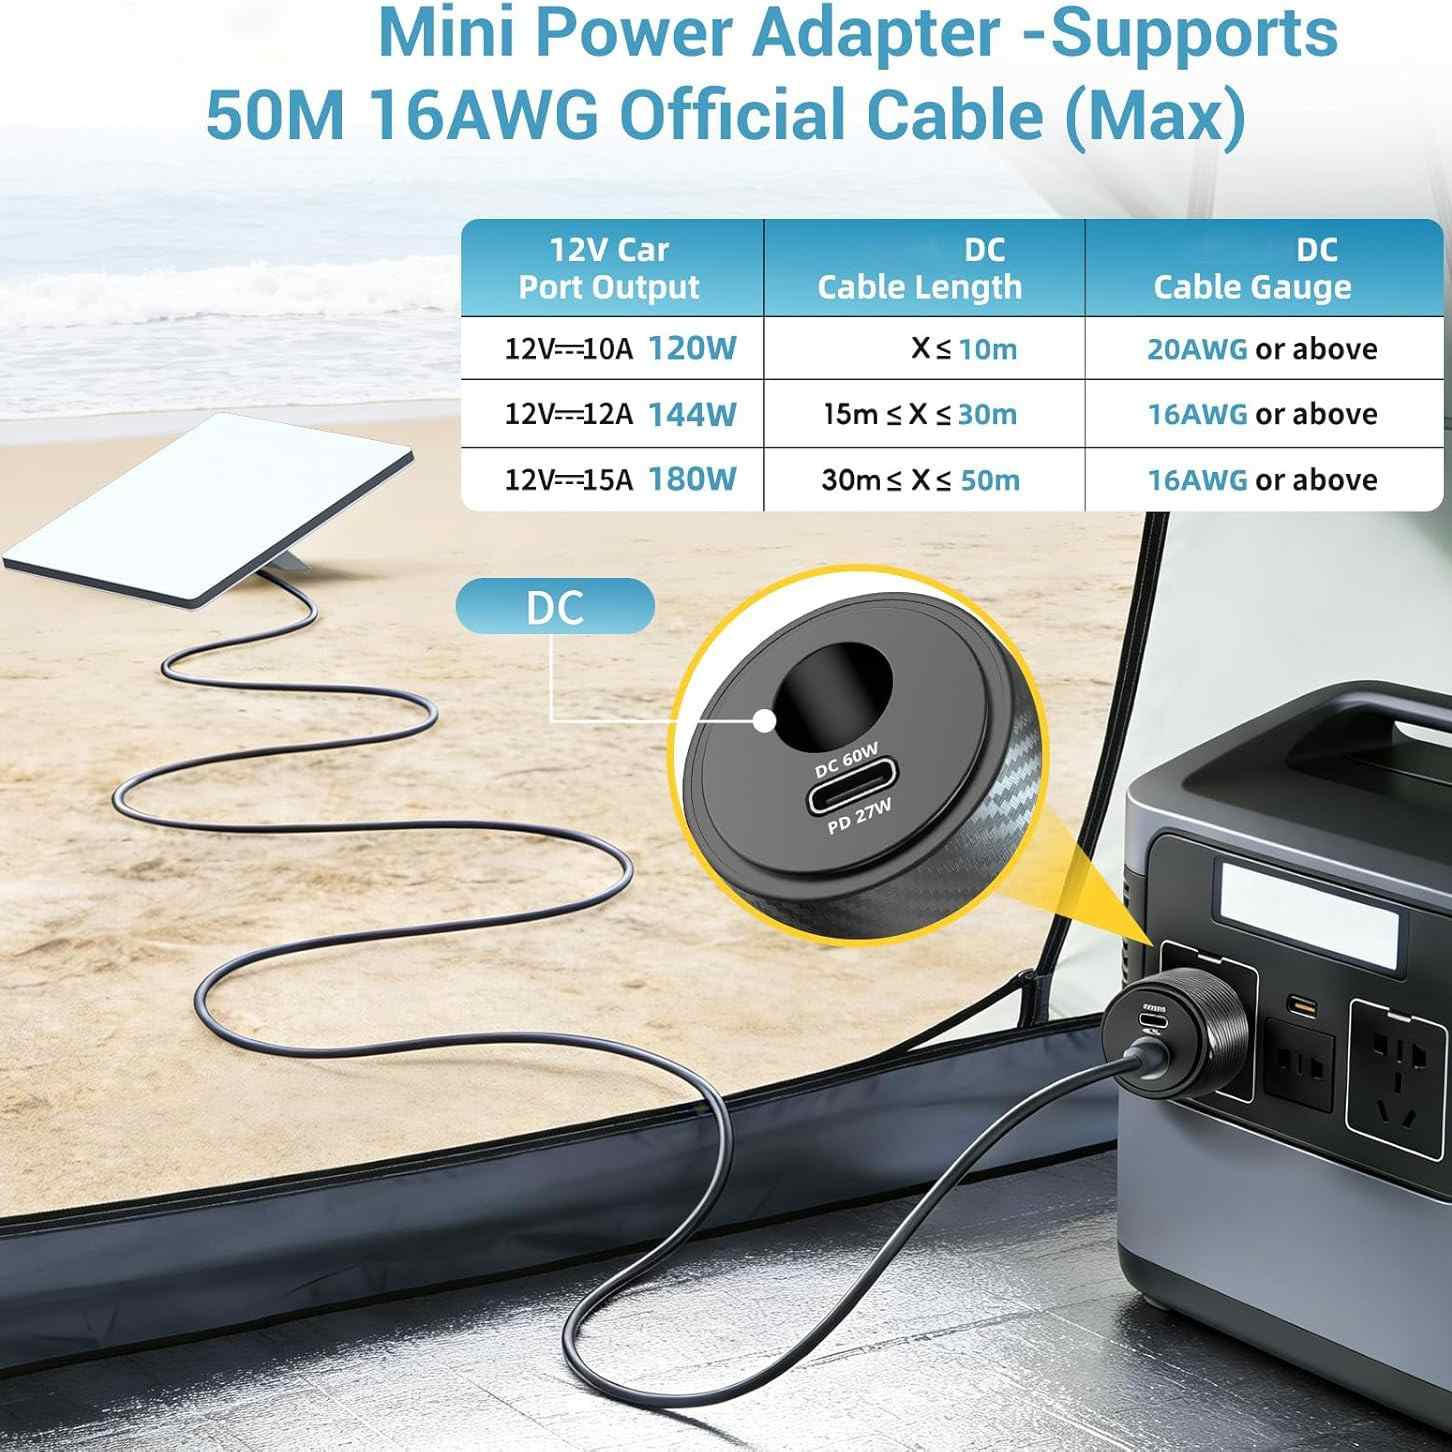
- Output voltage: 28–30V DC (some adapters allow fine adjustment; 30V is optimal)
- Output current: minimum 3A (90W). Average draw is around 20–30W but peaks to 90W during startup and in cold weather when the dish heats itself.
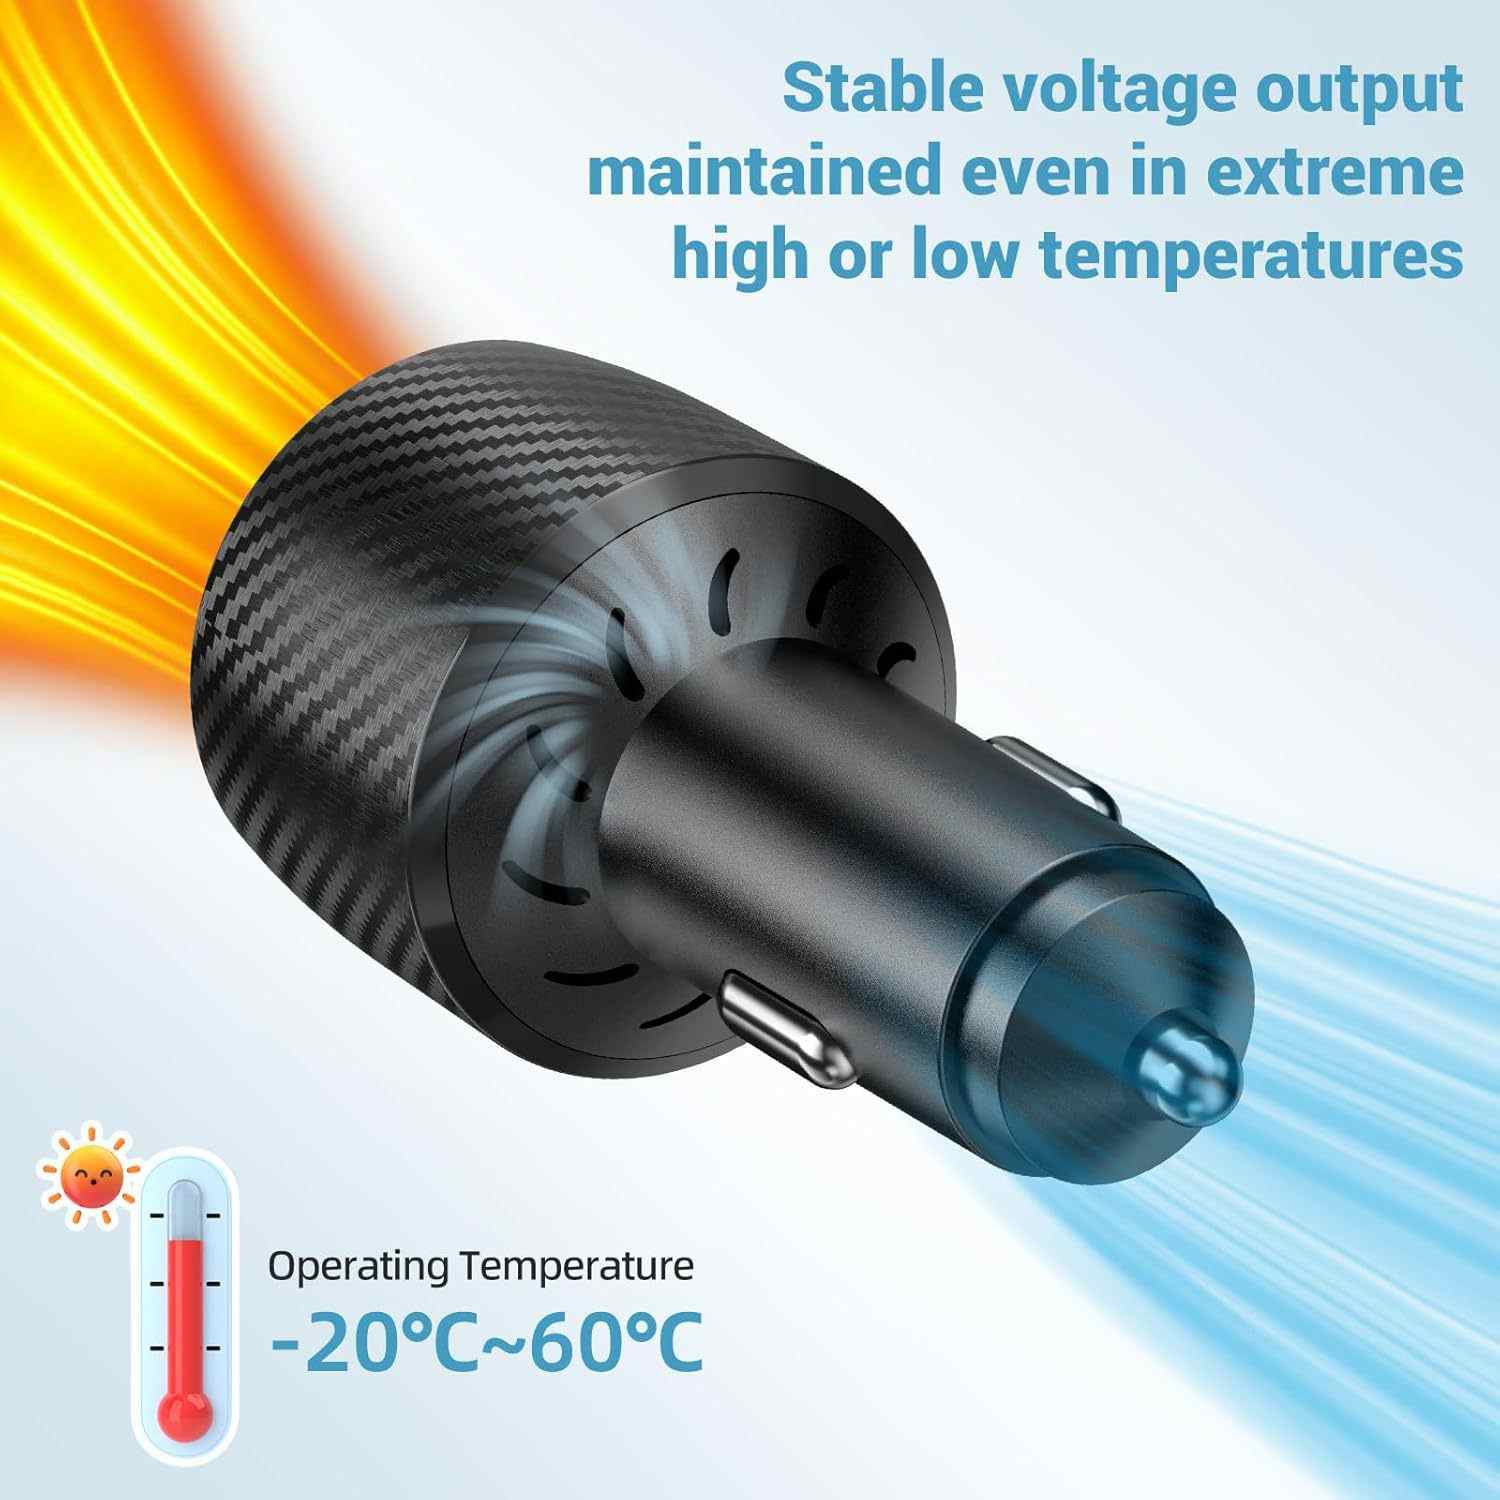
- Input voltage: 12V (car) or 24V (truck/RV). A good adapter handles both.
4 Power Solutions Compared
| Solution | Input | Output | Display | Ethernet | Verdict |
|---|---|---|---|---|---|
| PowerRover 3-in-1 | 12–24V | 30V / 90W | Yes (digital) | Yes (built-in) | ★ Best pick |
| Basic DC boost | 12V only | 30V / 90W | No (LED only) | No | OK |
| 12V inverter + AC adapter | 12V | AC 100–240V | No | No | Inefficient |
| Shore power (230V AC) | 230V AC | 30V via OEM PSU | No | No | Parked only |
The inverter route (12V → 230V AC → Starlink AC adapter) is the least efficient — you lose 15–20% of energy in each conversion step, meaning higher battery drain for the same dish performance. A direct DC-DC boost loses only 5–8%.
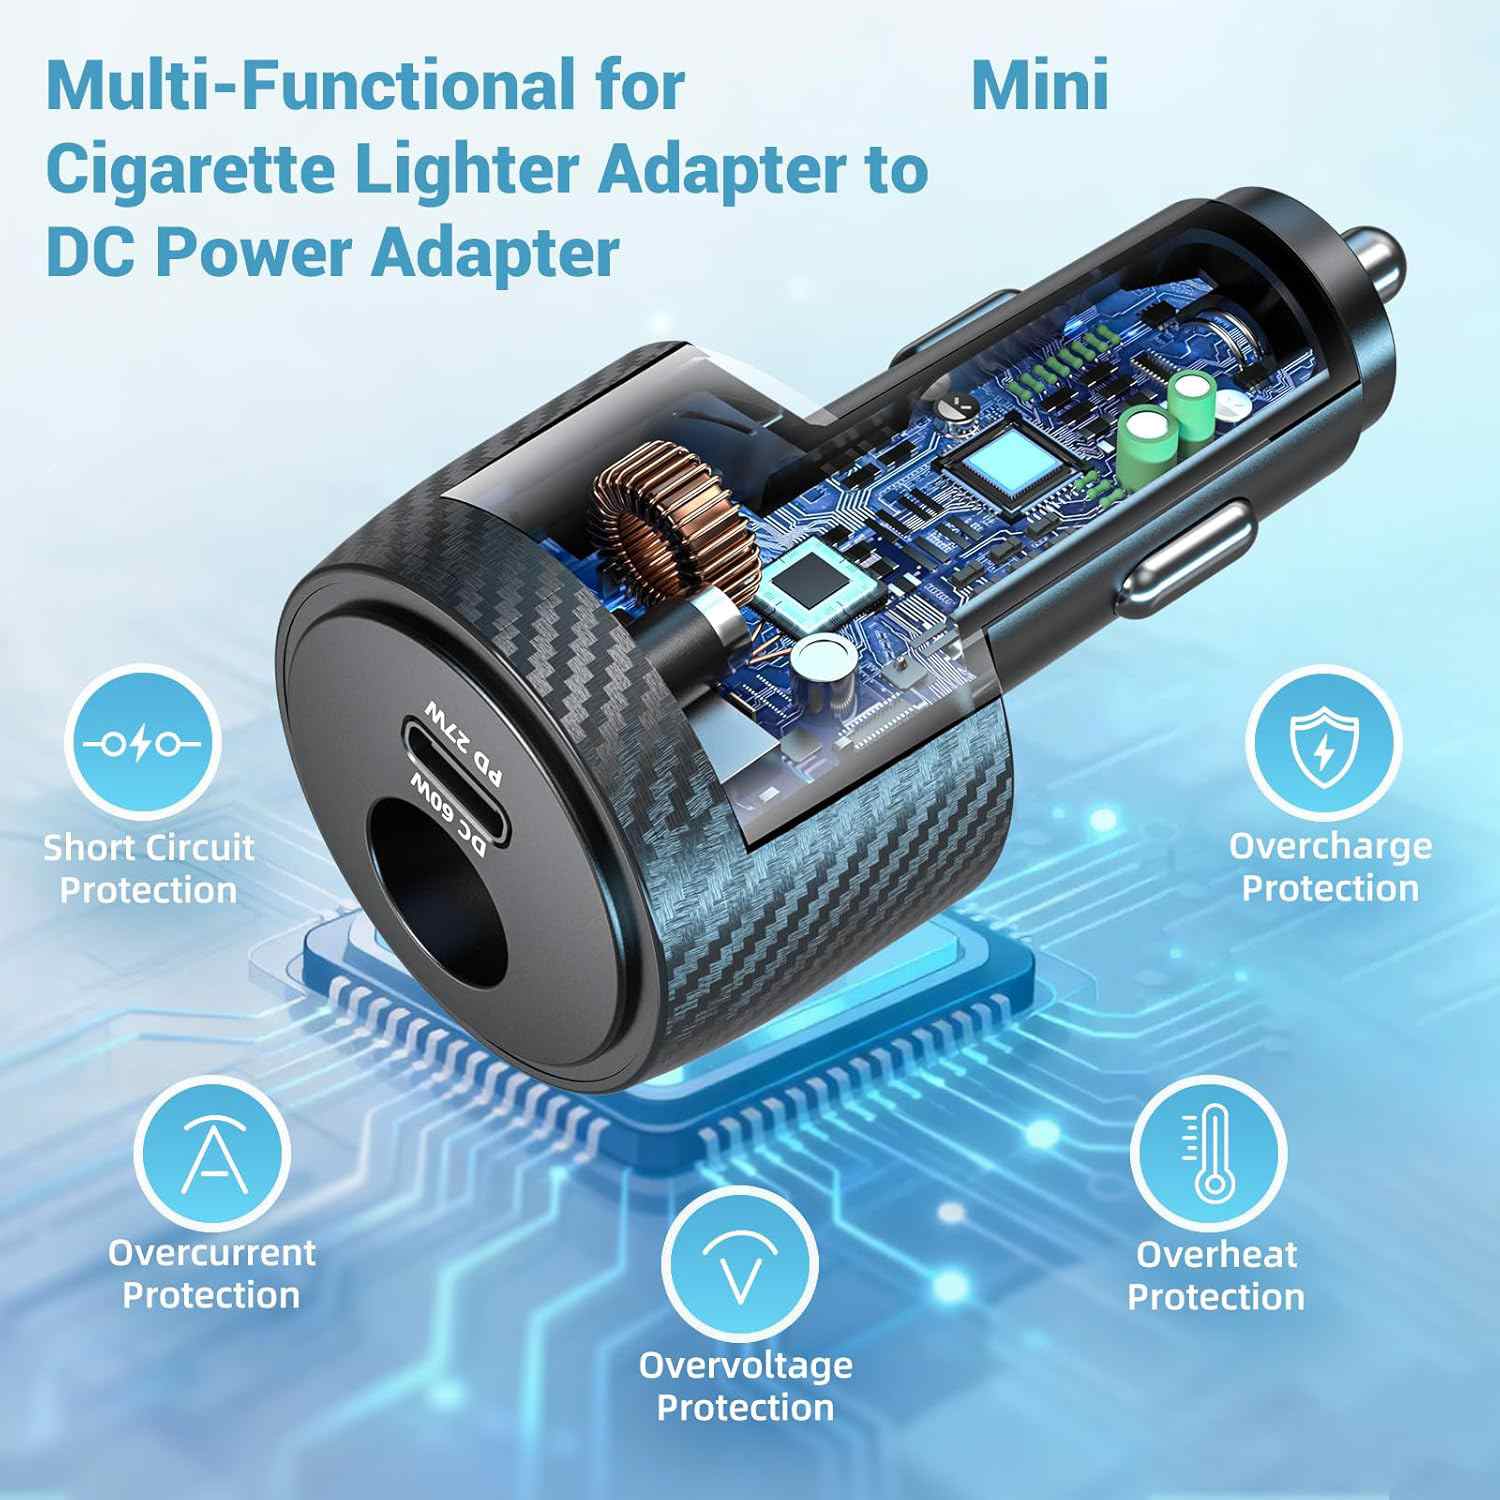
Our Pick: PowerRover 3-in-1
Left: DC output cable and built-in RJ45 ethernet port. Right: compact form factor fits any cigarette lighter socket.
The PowerRover earns its top spot with three features that no basic boost adapter includes:
- Digital display — shows input voltage, output voltage, and current draw simultaneously. You can monitor battery health and dish power consumption at a glance.
- Built-in ethernet port — eliminates the need for a separate ethernet adapter (saving $15–25 and one more USB port). Connect your laptop or router directly.
- 12V and 24V compatible — use the same adapter in your car, your RV, your truck, or any vehicle. No need to buy different adapters for different vehicles.
Left: display showing 30.0V / 2.1A = 63W draw during normal operation. Right: Starlink Mini live on the road.
PowerRover 3-in-1 — Car DC Power Adapter
12V/24V → 30V DC · Digital display · Built-in ethernet · 90W max · For all Starlink Mini versions
View Product →Running Starlink Mini from Solar
For van lifers and off-grid setups, solar is the obvious long-term power source. The setup is straightforward: solar panel → charge controller → 12V/24V battery → PowerRover adapter → Starlink Mini.
Power budget guide:
- Average draw: 20–30W (1.7–2.5A at 12V from battery)
- Peak draw: 90W at startup / in cold weather (brief)
- Daily use (8h): ~200–240Wh from battery (17–20Ah at 12V)
- Solar to stay neutral: 100W panel (good sun), 200W panel (cloudy northern Europe)
The PowerRover works directly from a 12V solar battery system — no extra hardware needed between the battery and the adapter.