Mounting a Starlink dish on an RV used to mean drilling through fibreglass, hiring an electrician, and hoping the seals held through the winter. In 2026, three no-drill technologies have made permanent RV Starlink installs completely tool-optional — and removable when you need them.
We spent two months testing 6 mounting systems across motorhomes, campervans and fifth-wheel trailers. Here's what actually works.
RV Mount Types: Clamp vs Magnetic vs Strap
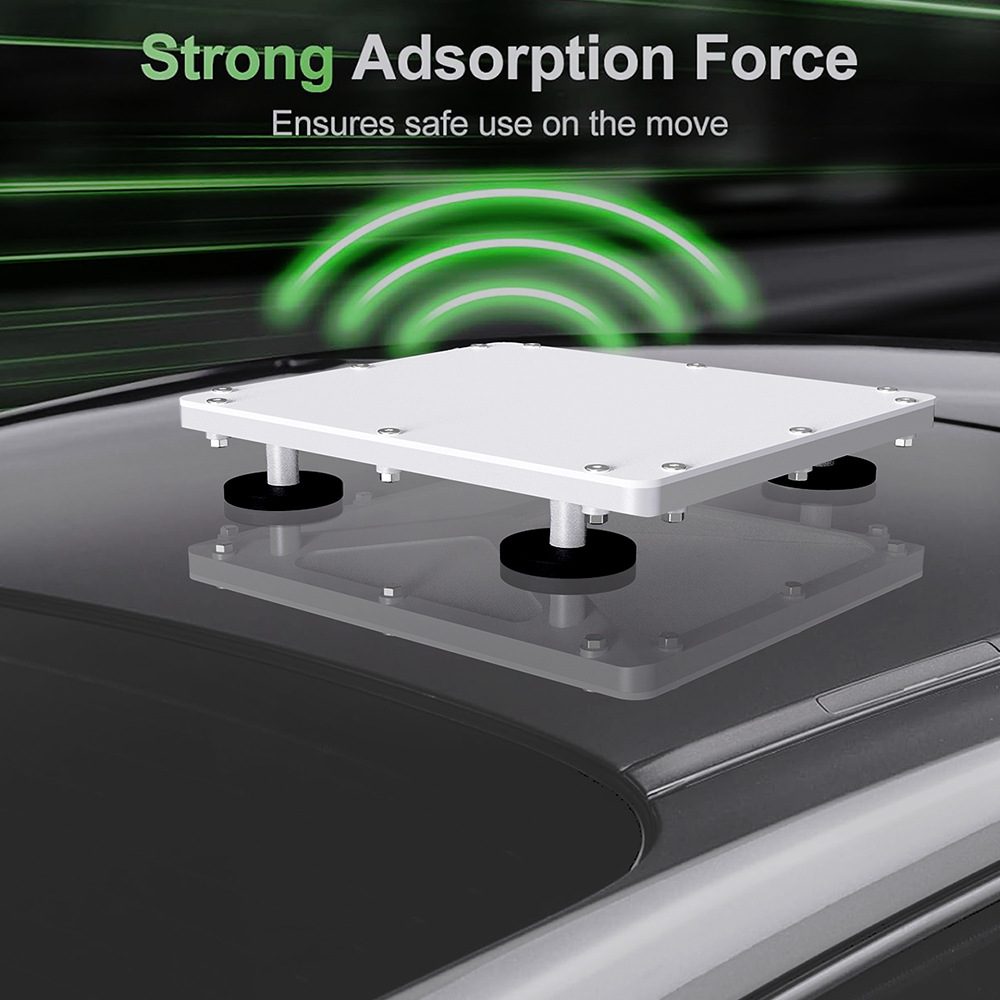
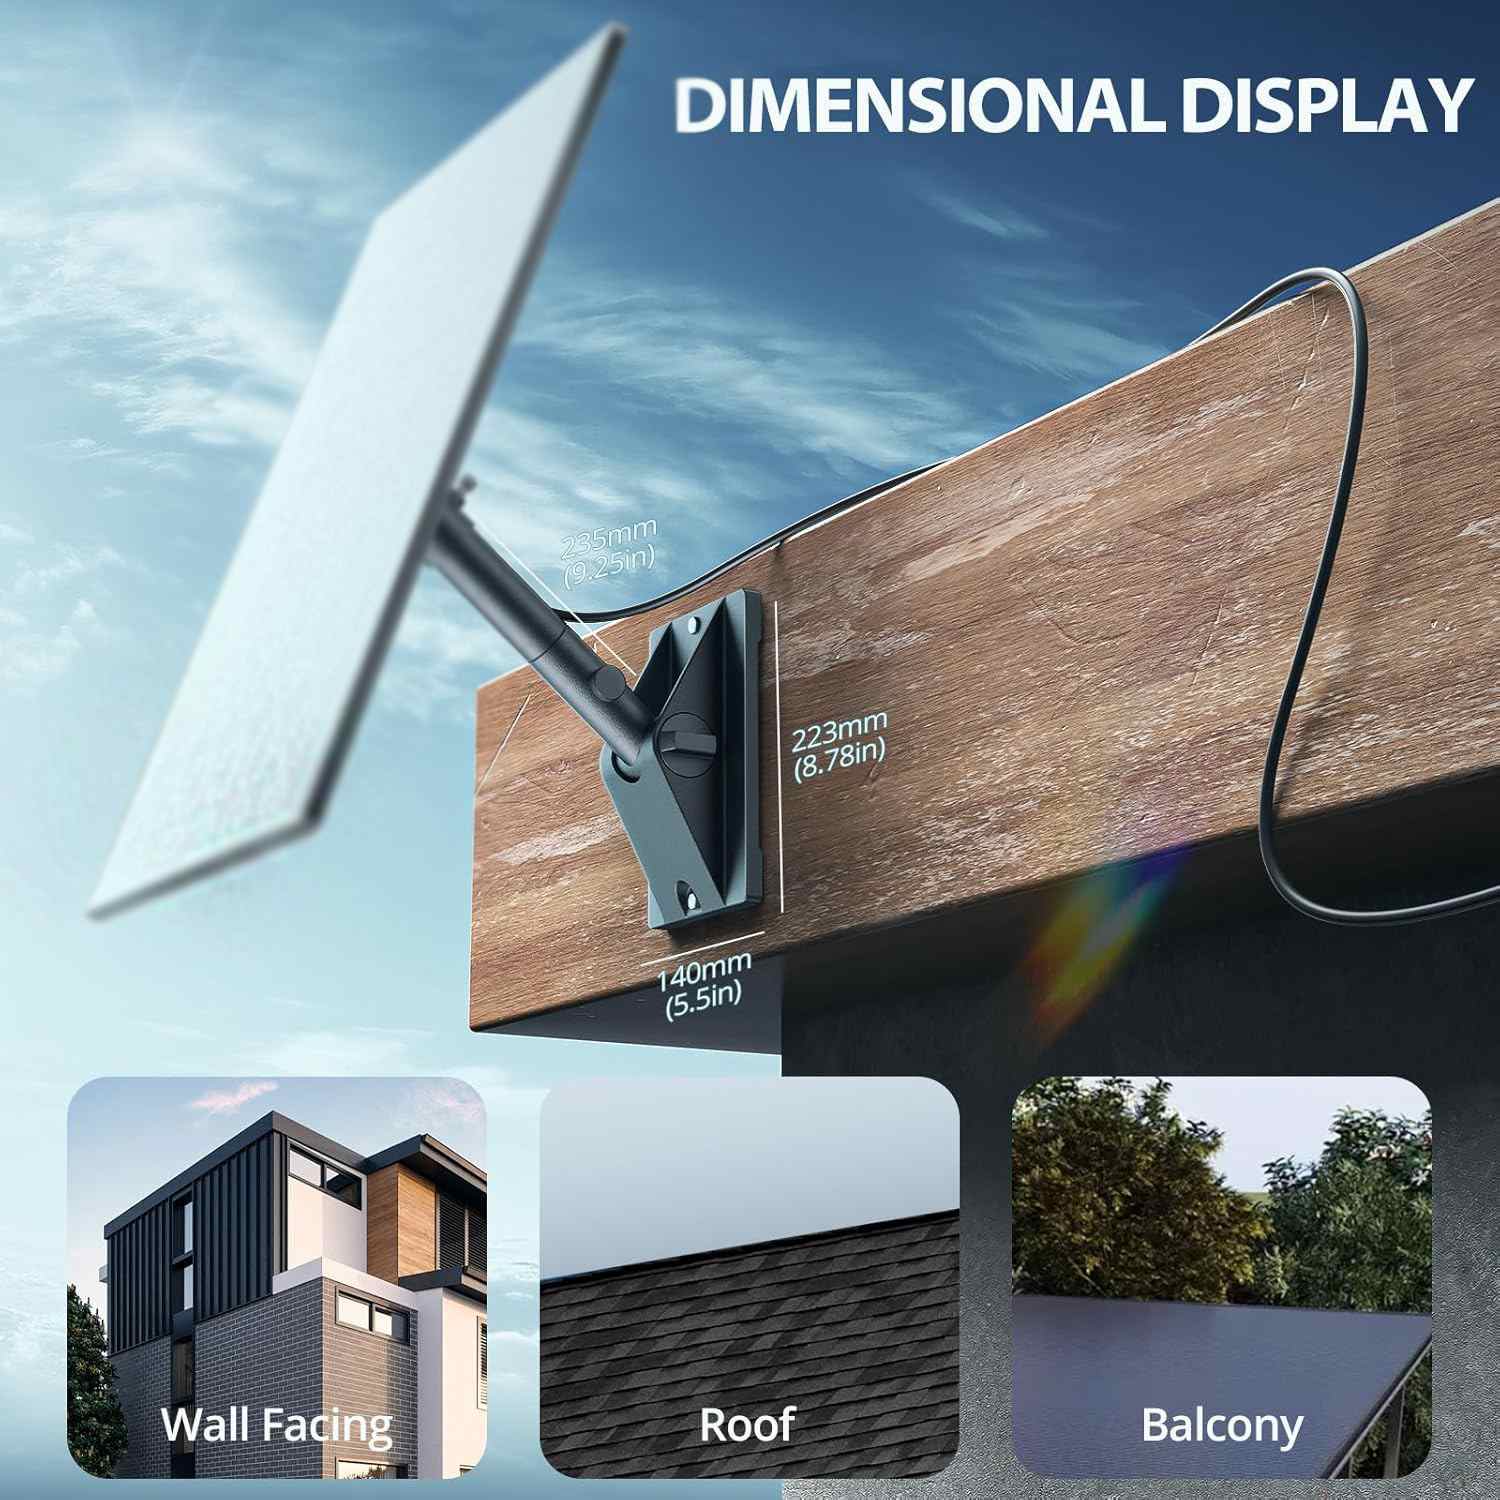
The AlphaRoof clamp system grips the roof edge rail — no penetration, no sealant required.
The three main no-drill approaches each suit different RV types and use cases:
- Roof-edge clamps — grip the aluminium or fibreglass lip around the roof perimeter. Best for permanent installs on motorhomes. Rated to 15 kg, windproof at 160 km/h.
- Magnetic mounts — attach to any steel roof surface. Fast on/off, ideal for occasional use. Not suitable for fibreglass or aluminium roofs.
- Ladder/rail straps — wrap around rear ladder rungs or roof bars. Works on virtually any RV. Less aerodynamic but easiest to install with zero tools.
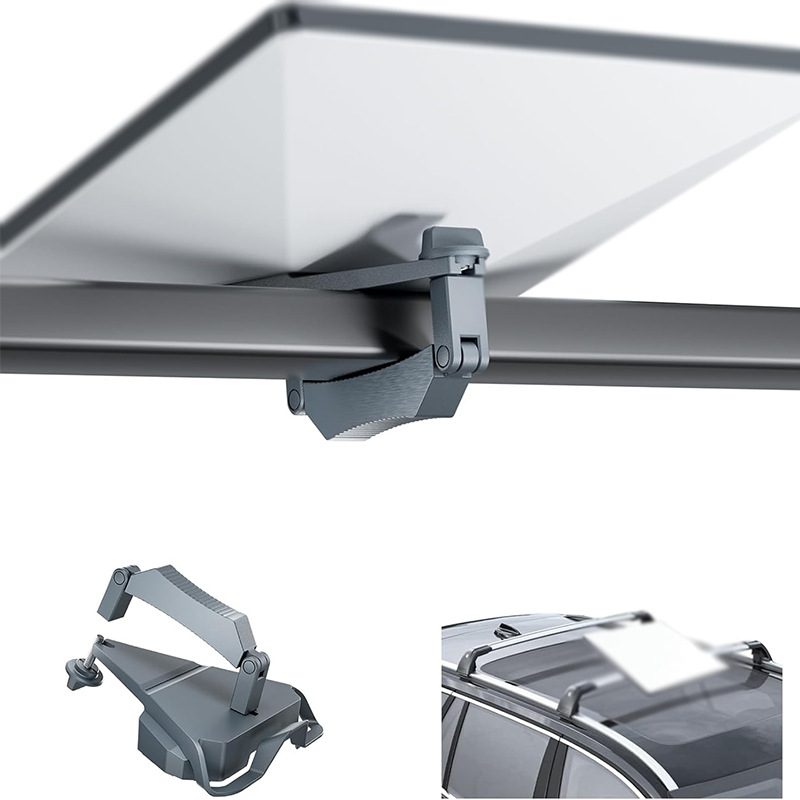
Left: roof-edge clamp detail. Right: rear ladder pipe-clamp mount — tool-free in 5 minutes.
Side-by-Side Comparison
| Mount | Type | Max Wind | Roof Type | Install | Removable |
|---|---|---|---|---|---|
| AlphaRoof Gen3 | Roof clamp | 160 km/h | All RV types | 10 min | Yes |
| CruiseFix RV | Pipe clamp | 130 km/h | Ladder / rail | 5 min | Yes |
| MagMount Pro | Magnetic | 100 km/h | Steel roof only | 2 min | Yes |
| Drilled wall mount | Permanent | 200+ km/h | Any | 60+ min | No |
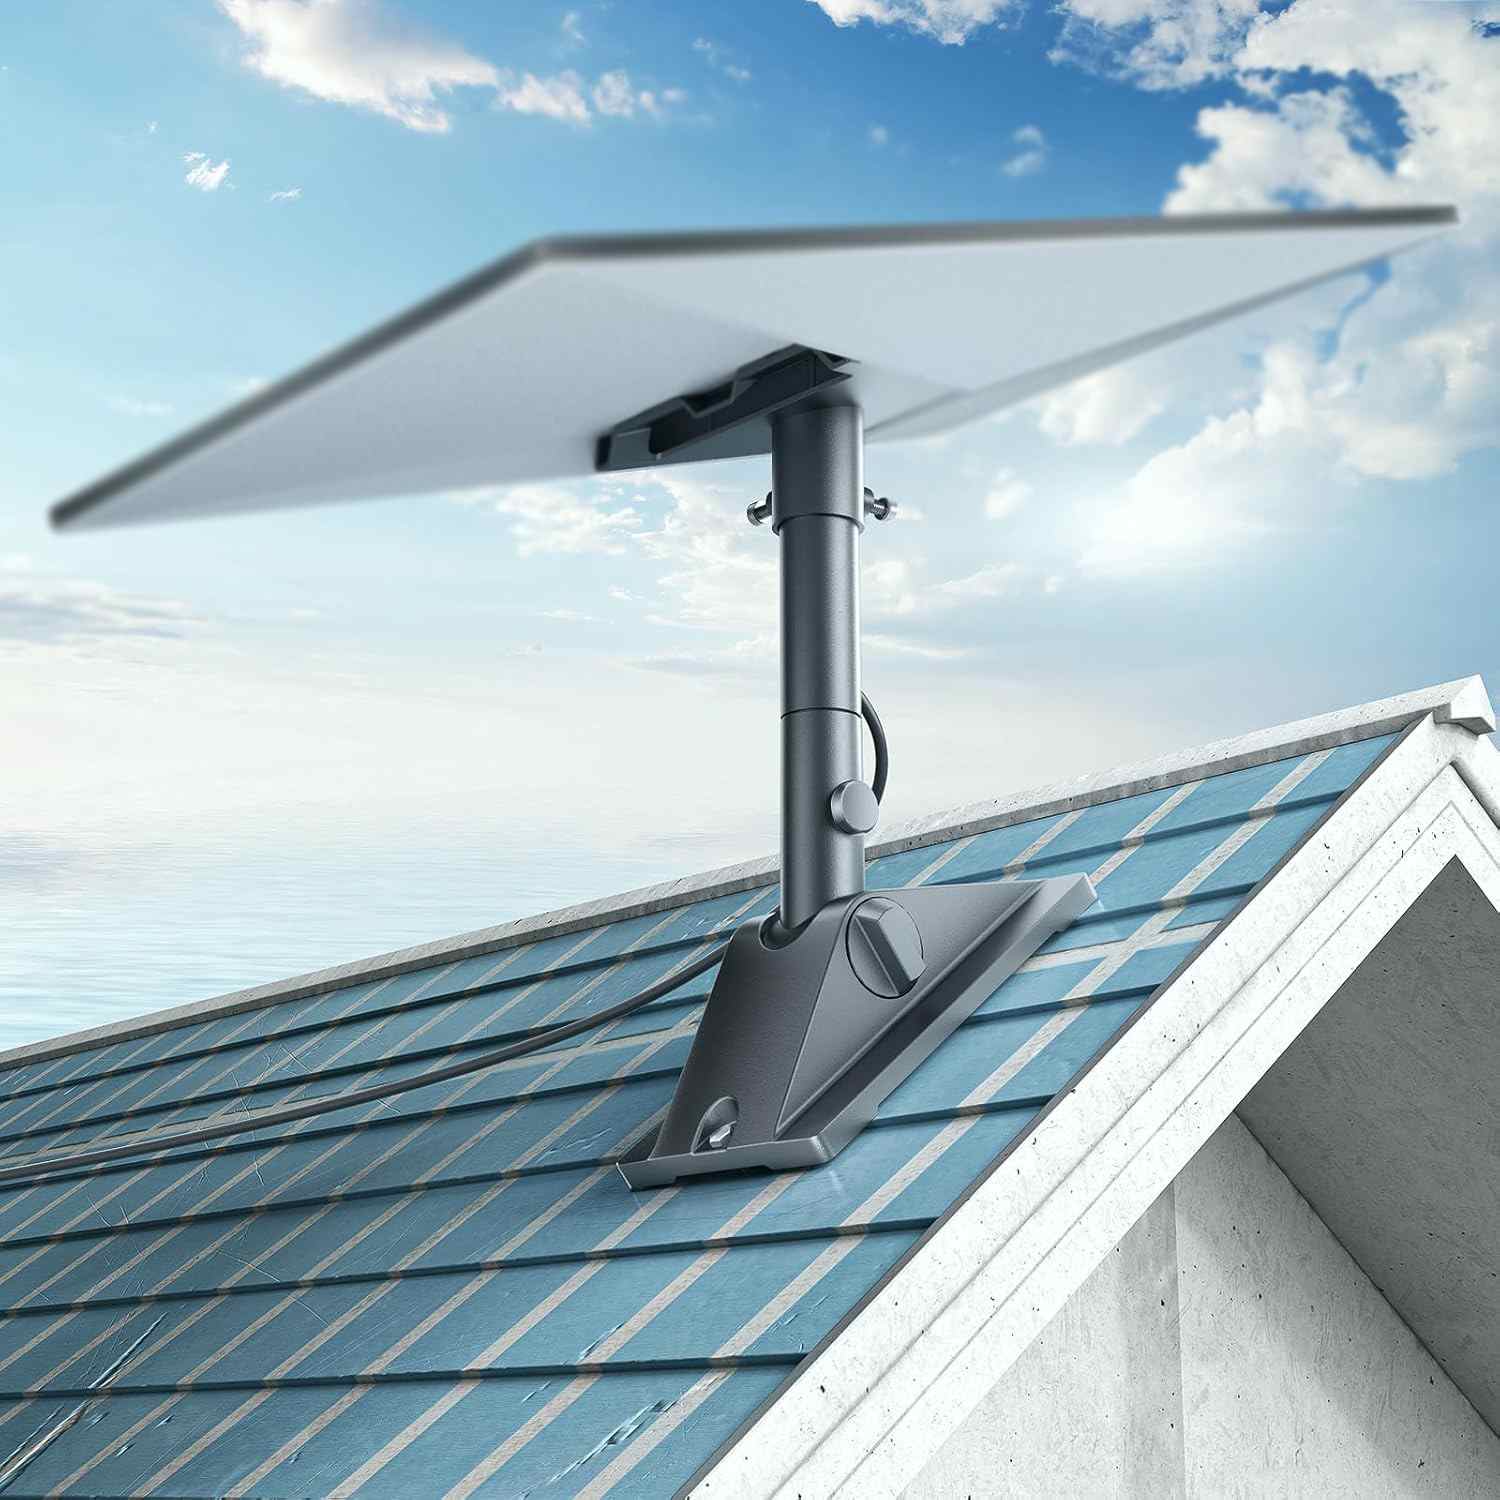
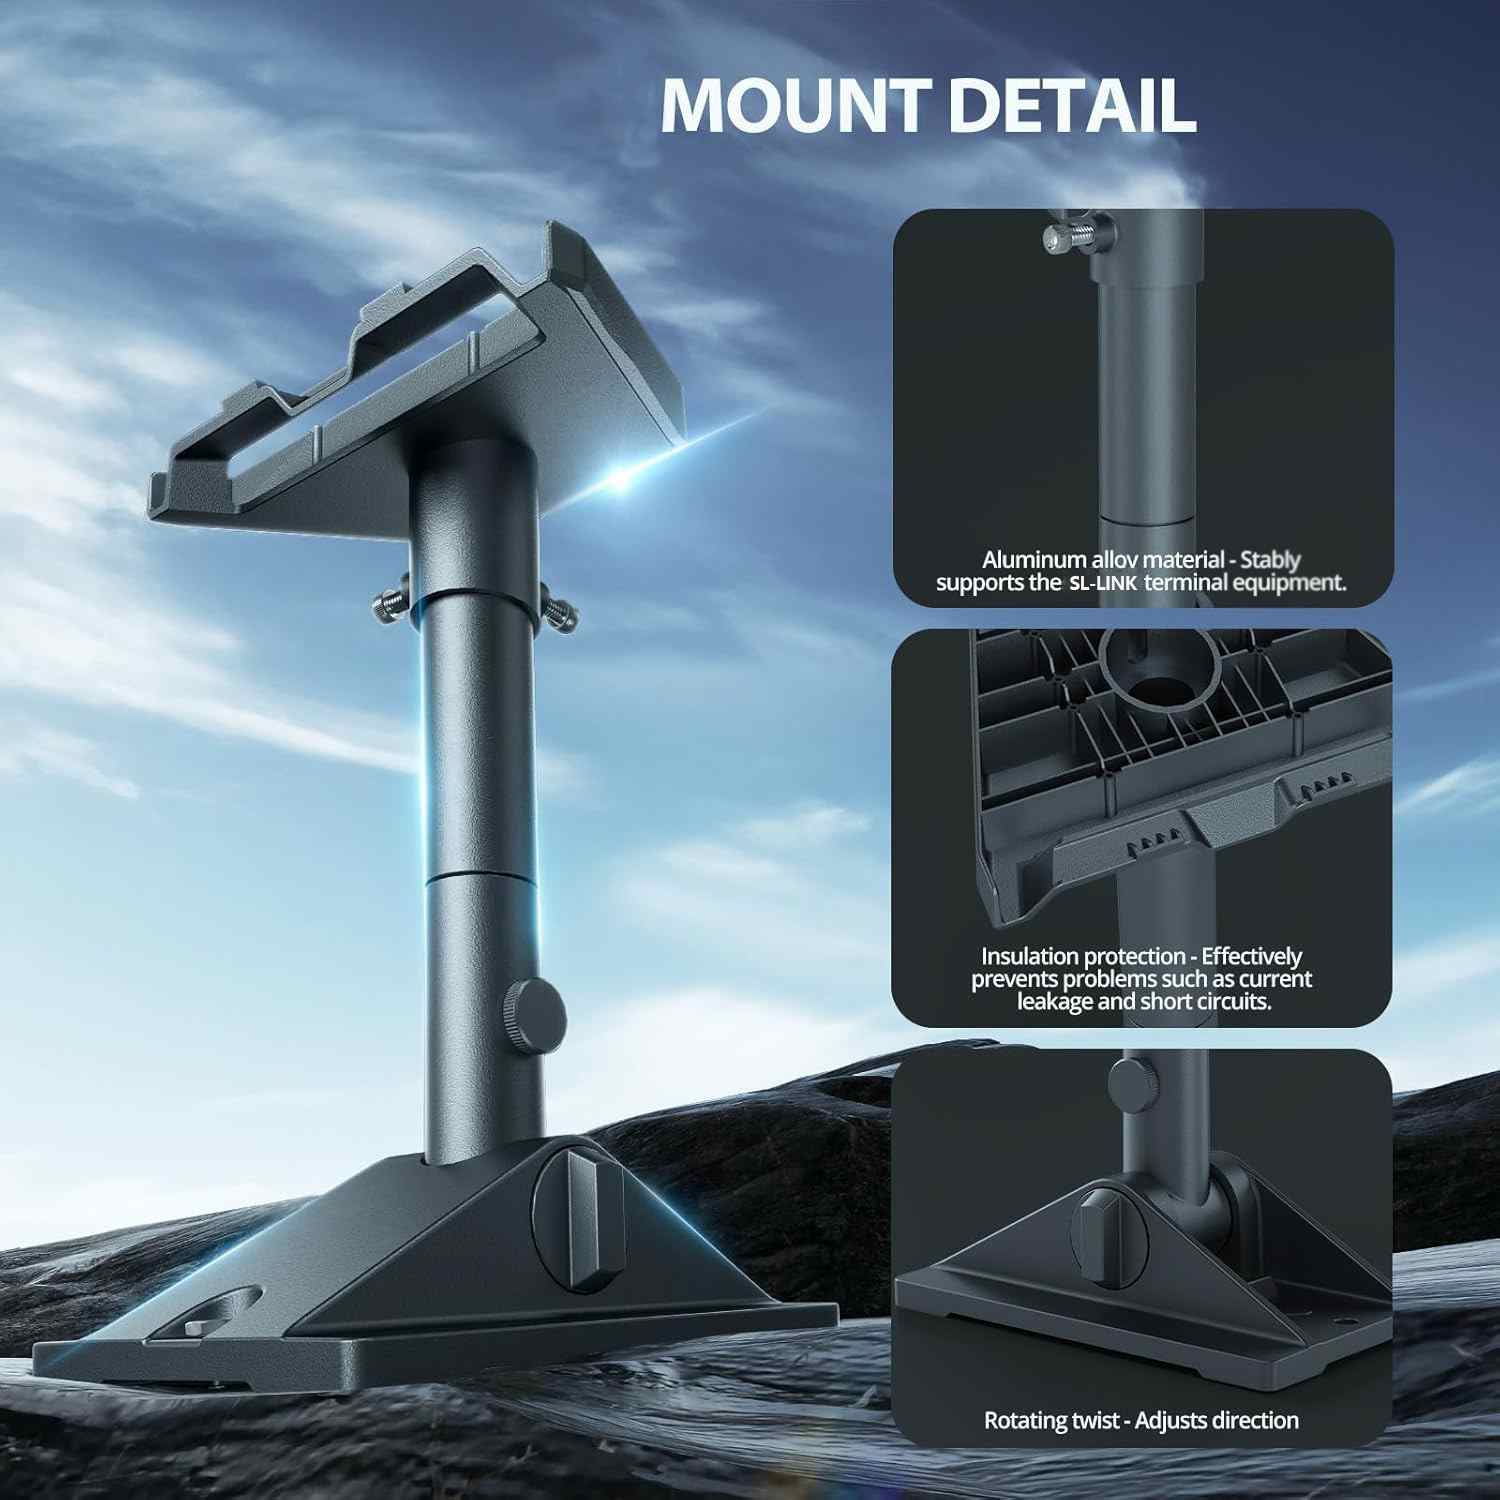
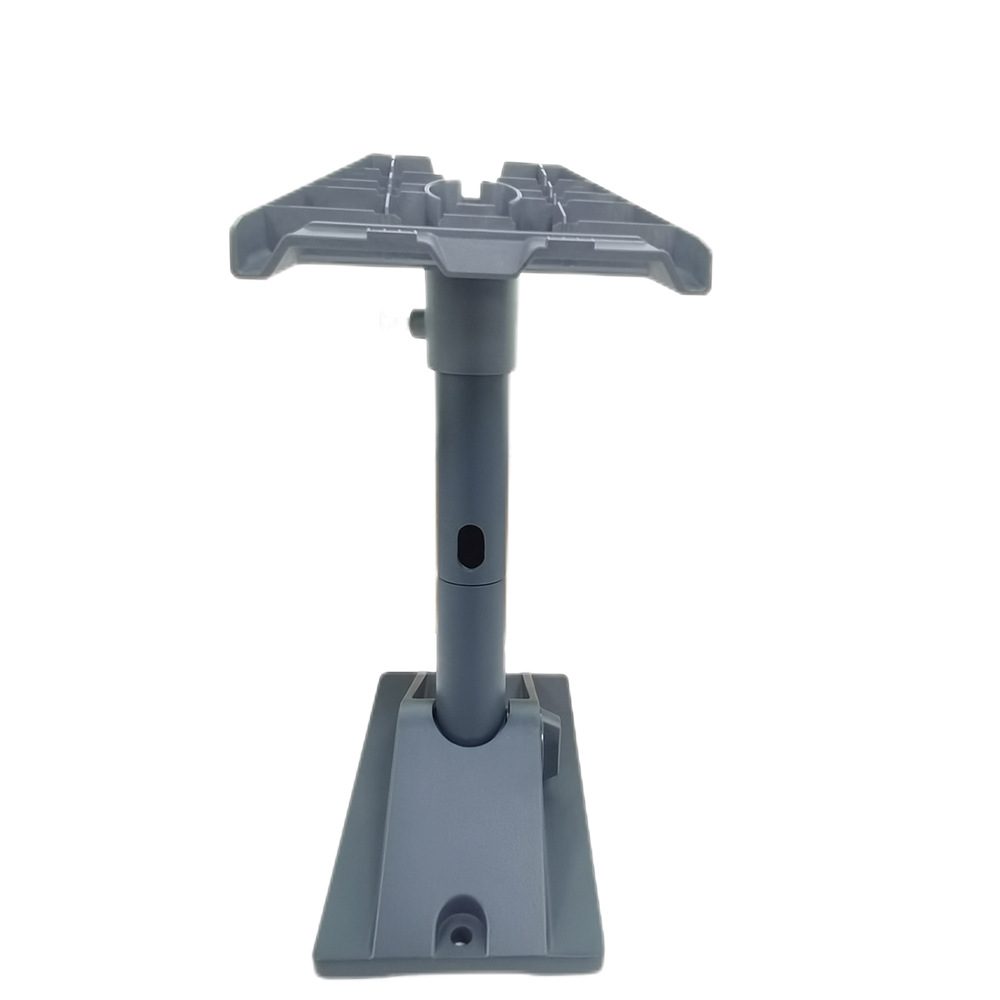
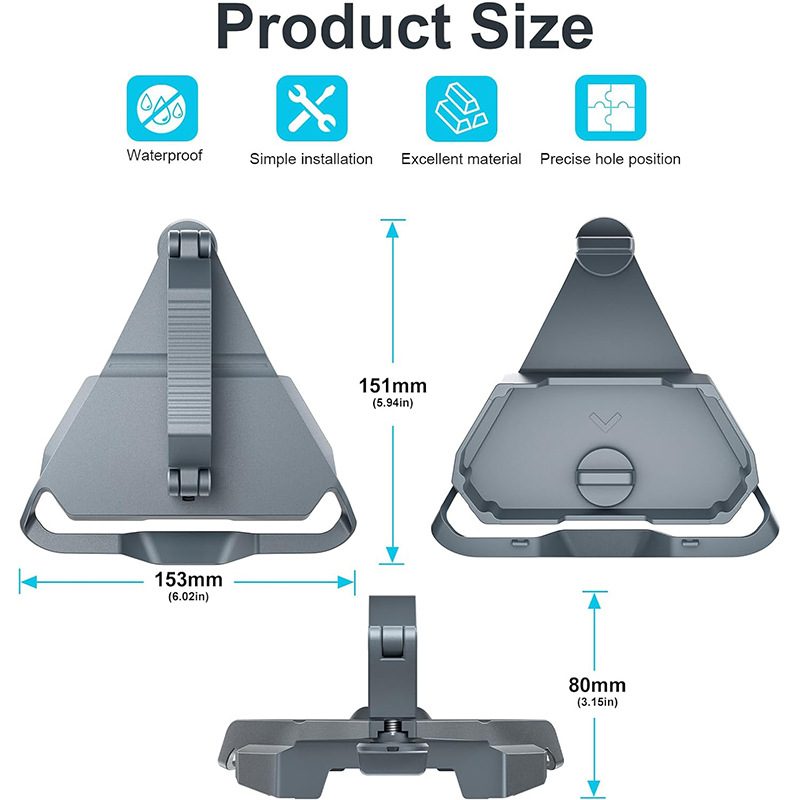
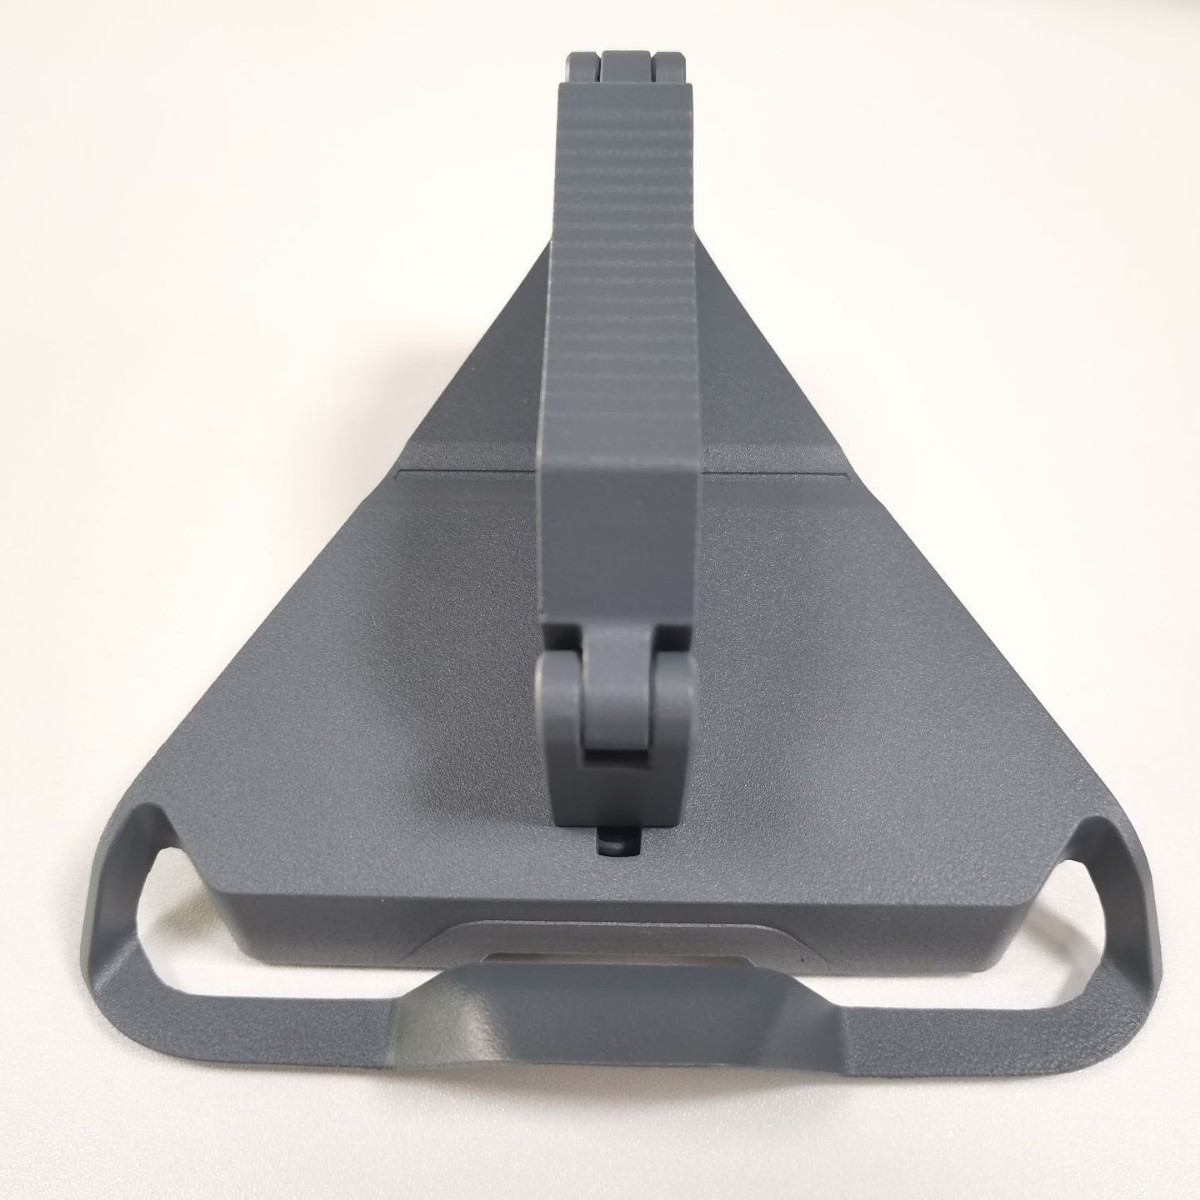
AlphaRoof Gen3 — No-Drill RV Roof Clamp
Fits all RV roof profiles · 15 kg rated · 0–90° tilt · Includes cable anchor clips
View Product →Step-by-Step: Roof Clamp Installation
The AlphaRoof Gen3 installs in four steps with no tools. The clamp jaw opens wide enough to grip RV roof lips between 10–60 mm thick.

Left to right: position clamp on roof lip, tighten the jaw hand-tight, attach dish arm and set tilt angle.
- Position — Place the open clamp jaw over the roof edge lip. Aim for the rear third of the roof for the best sky clearance angle and lowest wind resistance when driving.
- Tighten — Turn the clamp knob clockwise until firm. No tools needed; hand-tight is sufficient for the rubber-lined jaw. Do not over-tighten on thin fibreglass profiles.
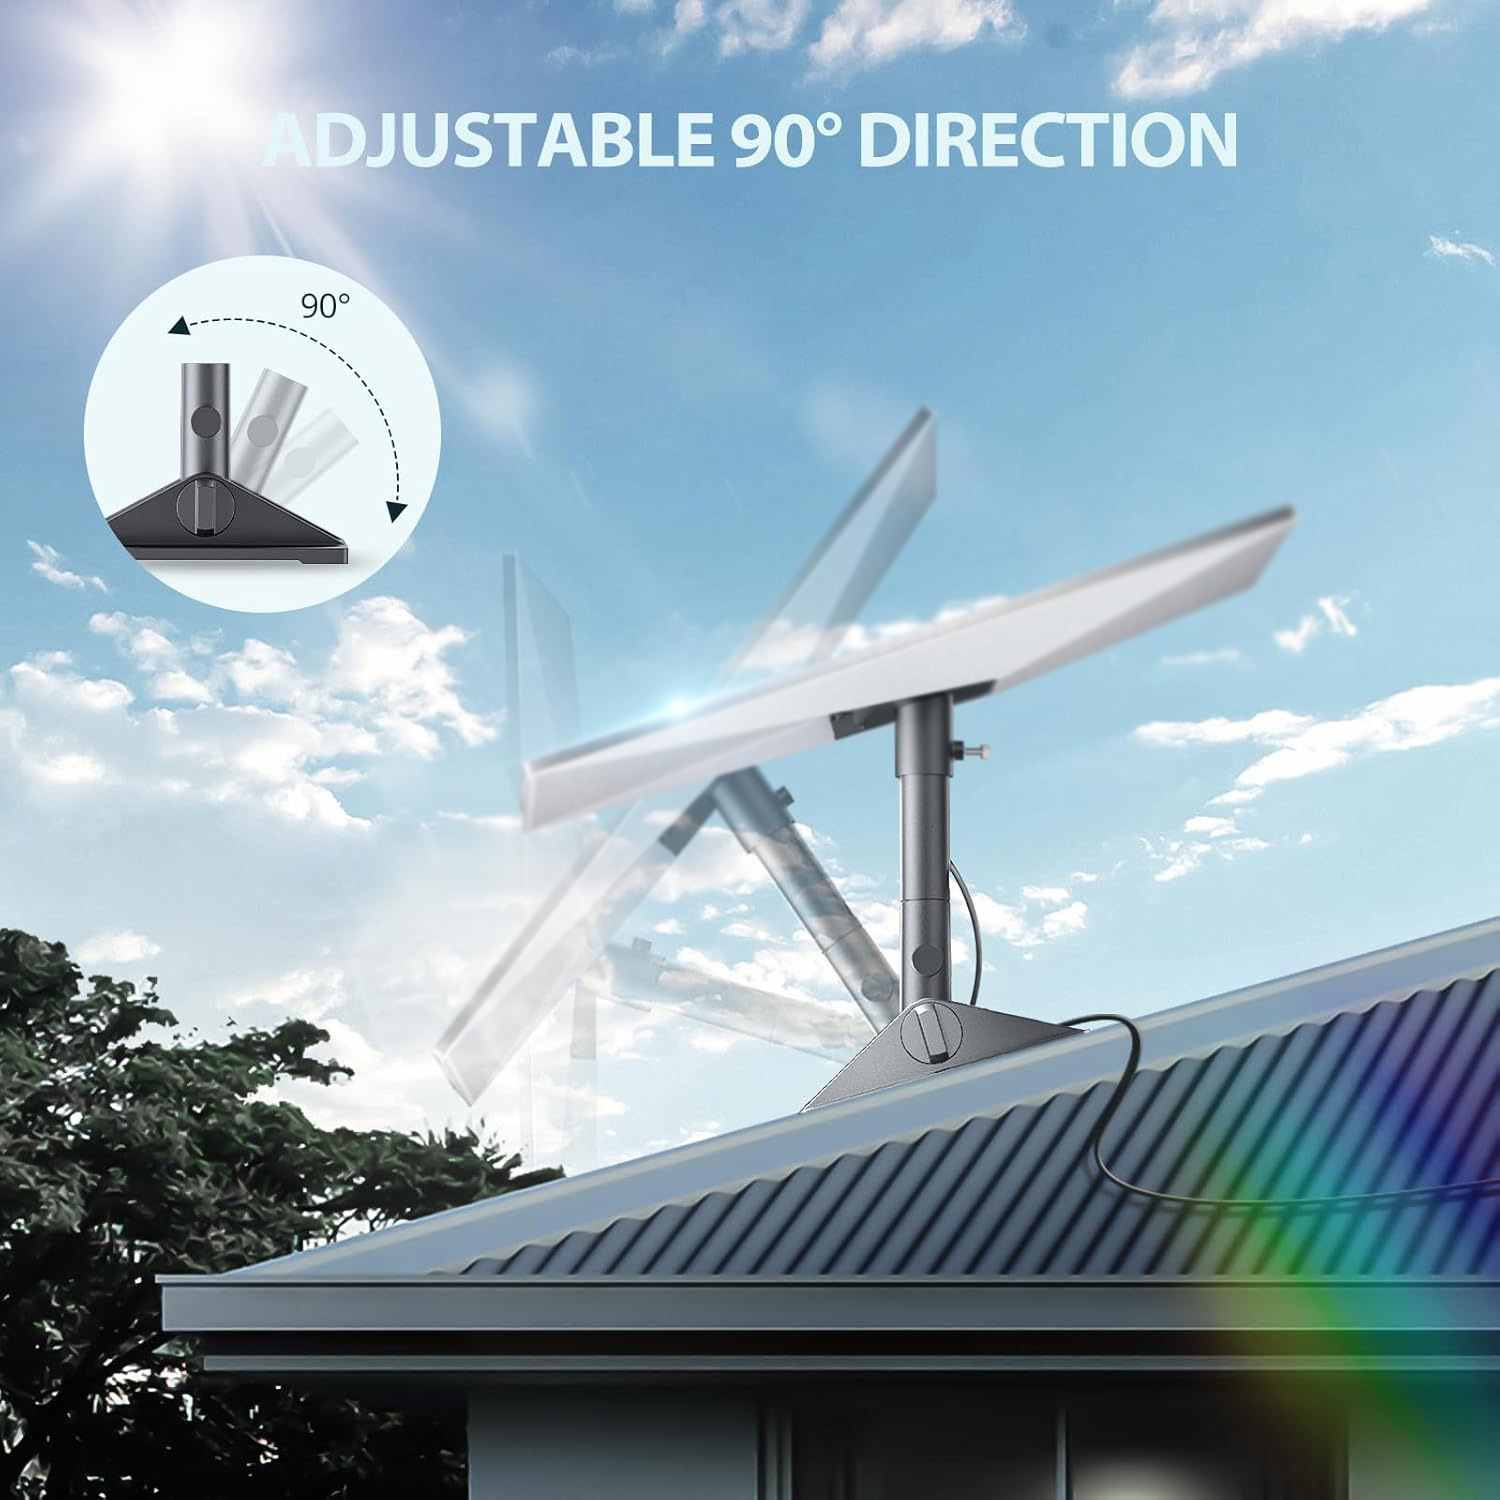
- Mount the arm — Slide the dish arm into the clamp receiver. Set the tilt angle: 0° for driving, 15–30° toward south (northern hemisphere) for parked use.
- Route the cable — Use the included cable anchor clips to run the Starlink cable along the roof edge, down the side panel, and in through the rear window seal or a cable entry gland.
Signal Placement Tips for RVs
Even the best mount won't help if the dish is blocked. Here's how to get maximum signal on a crowded RV roof:
- Use the Starlink app obstruction checker — point your phone camera to the sky from the planned mount position. The app overlays the satellite cone and shows any obstructions before you commit.
- Keep clear of solar panels — they create strong RF interference if the dish faces them. Mount at least 50 cm away or on the opposite roof edge.
- Raise the dish if needed — the AlphaRoof arm extends up to 30 cm above the roof surface, clearing most AC units and vents.
- For driving — set tilt to 0° (flat). The dish's electronic beam steering handles satellite acquisition at any speed.
Left: dish positioned clear of solar panel and AC unit. Right: cable clipped neatly along the roof edge.